• Home
    • Van Life
    • Cycling
    • Hiking
    • Sweden
    • Product Reviews
    • Events
    • Fitness
    • OCR
    • Running
    • Guest Posts
  • About
    • Who Is The Person Behind Fat Girl Fit?
    • Privacy and Cookie Policy
  • Collaborations
  • Interviews
  • Get in Touch
    • Facebook
    • Instagram
    • Pinterest
    • TikTok
    • Twitter

Fat Girl Fit

Be fearlessly unapologetically you

Category: Cycling

Indoor Trainers for Cycling

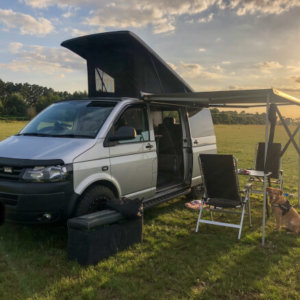
Love them or hate them turbo trainers definitely serve a purpose for cycle training.  It may be that with recent dire weather it is safer to continue training indoors than risk coming off in the severe wind and rain we have been experiencing in the UK, or you may opt to use a turbo trainer to get in a more structured workout.  I have had this post in my drafts since February but given the current situation with COVID-19 I know I for one have been using mine more then ever and so it seemed timely to post.

54d07885-680e-4109-82da-7a7eda657389

I have included detail previously about how I use my turbo trainer to get in more structured workouts that are better completed using a turbo trainer than on the road where there are too many variables.

Depending on the sort of turbo trainer you use you could see a difference in performance compared to on the road.  As noted above this can be down to variables outside of your control.  What do I mean by variables?  I mean stopping at junctions and traffic lights, build up of traffic, weather, diversions, punctures or mechanical’s to name a few.  The other difference (which honestly can be huge) is whether or not you are not using a smart trainer.  One of our first turbo trainers that I used was not a smart trainer and you controlled the resistance yourself and I could do an hour session and my average speed would be 25mph and upwards.  This is not my ability when on the road (I wish)!  It was a massive shock to the system when i got a smart trainer let me tell you!

So what is a smart trainer?  When you use a smart turbo trainer you will connect to some technology to help you get more from your workout.  These turbo trainers will adjust the resistance according to the workout so for example if you are on a hilly course the resistance will increase to simulate the same effort as if you were on the road and riding up a hill.  You will also hear the term ERG mode and this basically means that the trainer adjusts the resistance for you to help you hit a certain target power level without needing to change gear.

Some people opt for standard turbo trainers and use these with power meters though you will not experience the change in resistance as mentioned above and you will need to change gears to replicate this yourself.  With a standard turbo trainer you will not be able to connect to programmes such as Zwift, Sufferfest or Trainer Road (or similar) unless you have additional items like cadence sensor or speed sensor.

Of course smart trainers are more expensive but once you have experienced the difference between the two you will almost certainly be sold on the smart trainer, or at least speaking from personal experience I can say that is true for me.

img_0032

We have had a number of turbo trainers to date including the following:

  • Rollers – Tacx Antares £164.99.  Now rollers require balance and are something of a fine art, in my opinion, which is why I have never used them!  My husband, however, has (albeit also needing some time to master them) and they do not attach to the bike in any way, you simply ride on the rollers.
  • Smart rollers – Elite Arion Smart B digital £348 – these are my husbands and no I would not attempt these as I would be on the floor pretty quickly but I am always pretty mesmerised by those who use rollers and appear to do so effortlessly with perfect balance!  Smart rollers like a smart turbo will adjust resistance so balance and power are required at the same time here.
  • Turbo Trainer – Tacx Blue Matic magnetic turbo trainer £139.99.  This is a trainer where you leave your rear wheel on the bike and attach to the trainer.  I’d recommend using a turbo tyre for this as the make up on them is slightly different and they are designed to stop overheating.
  • Smart fixed wheel turbo trainer – Bkool Smart Go.  Like the above where you leave the rear wheel on but have the additional functionality of resistance from being a smart trainer.
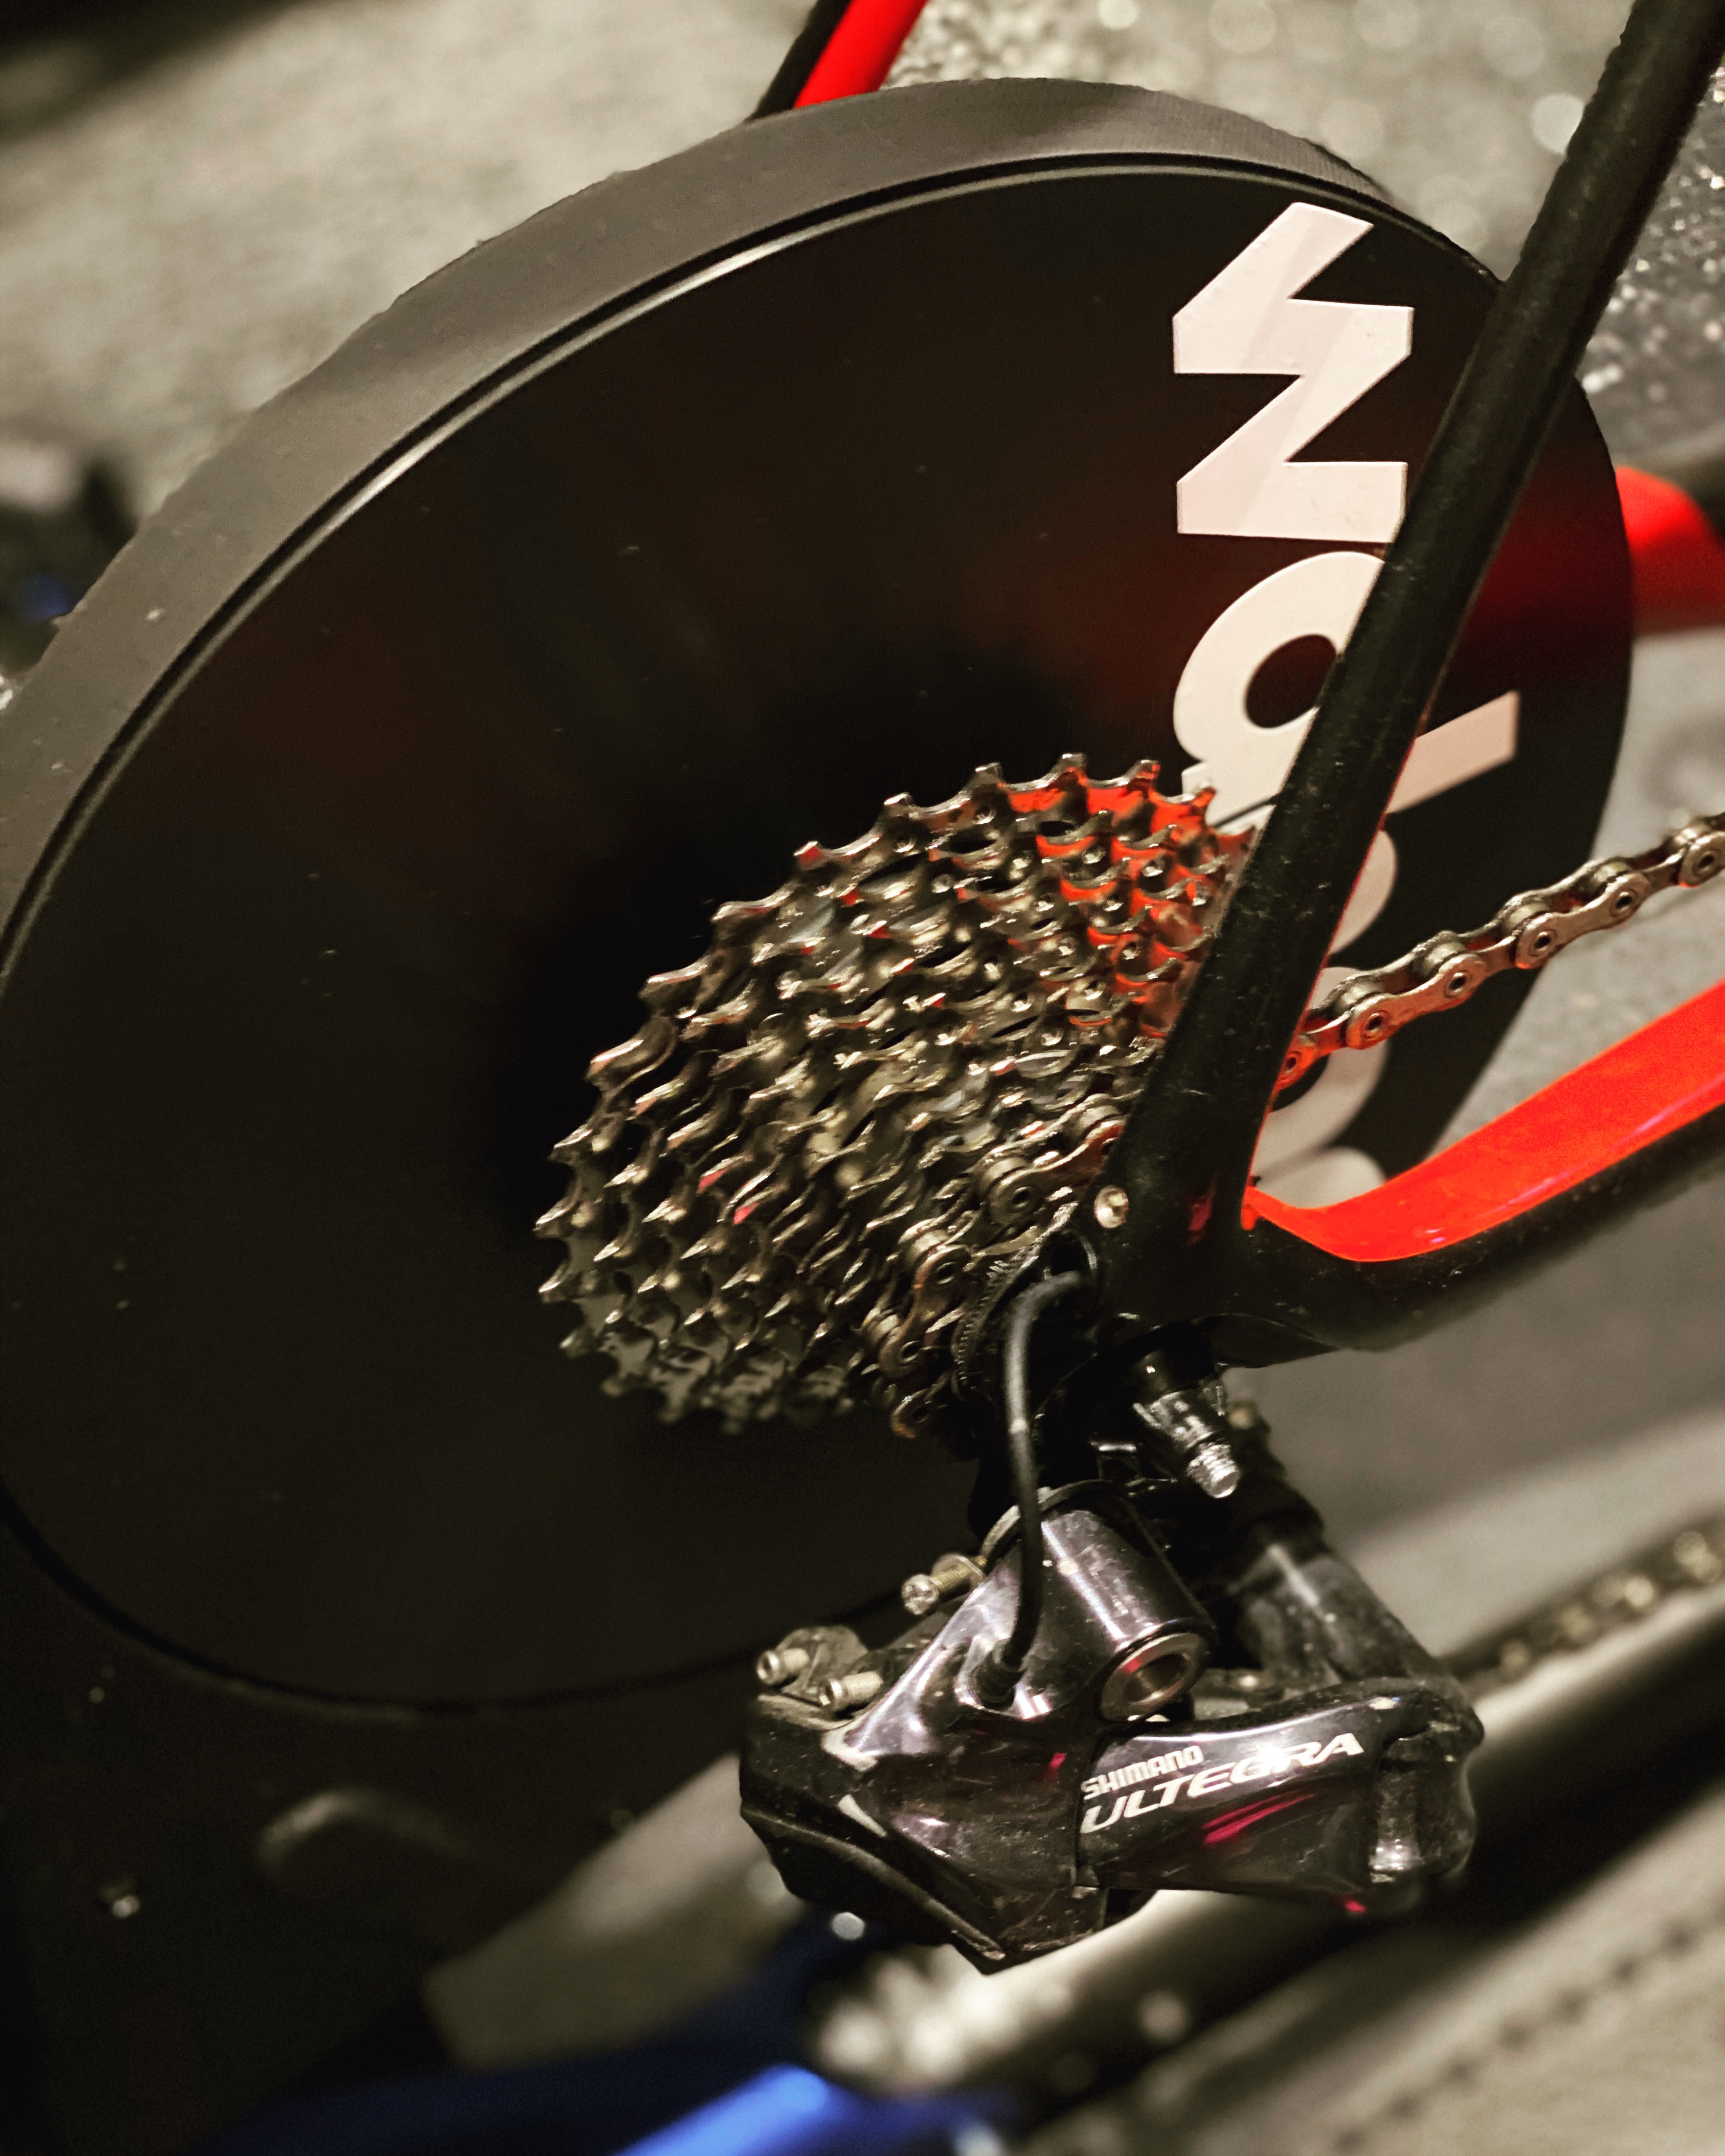
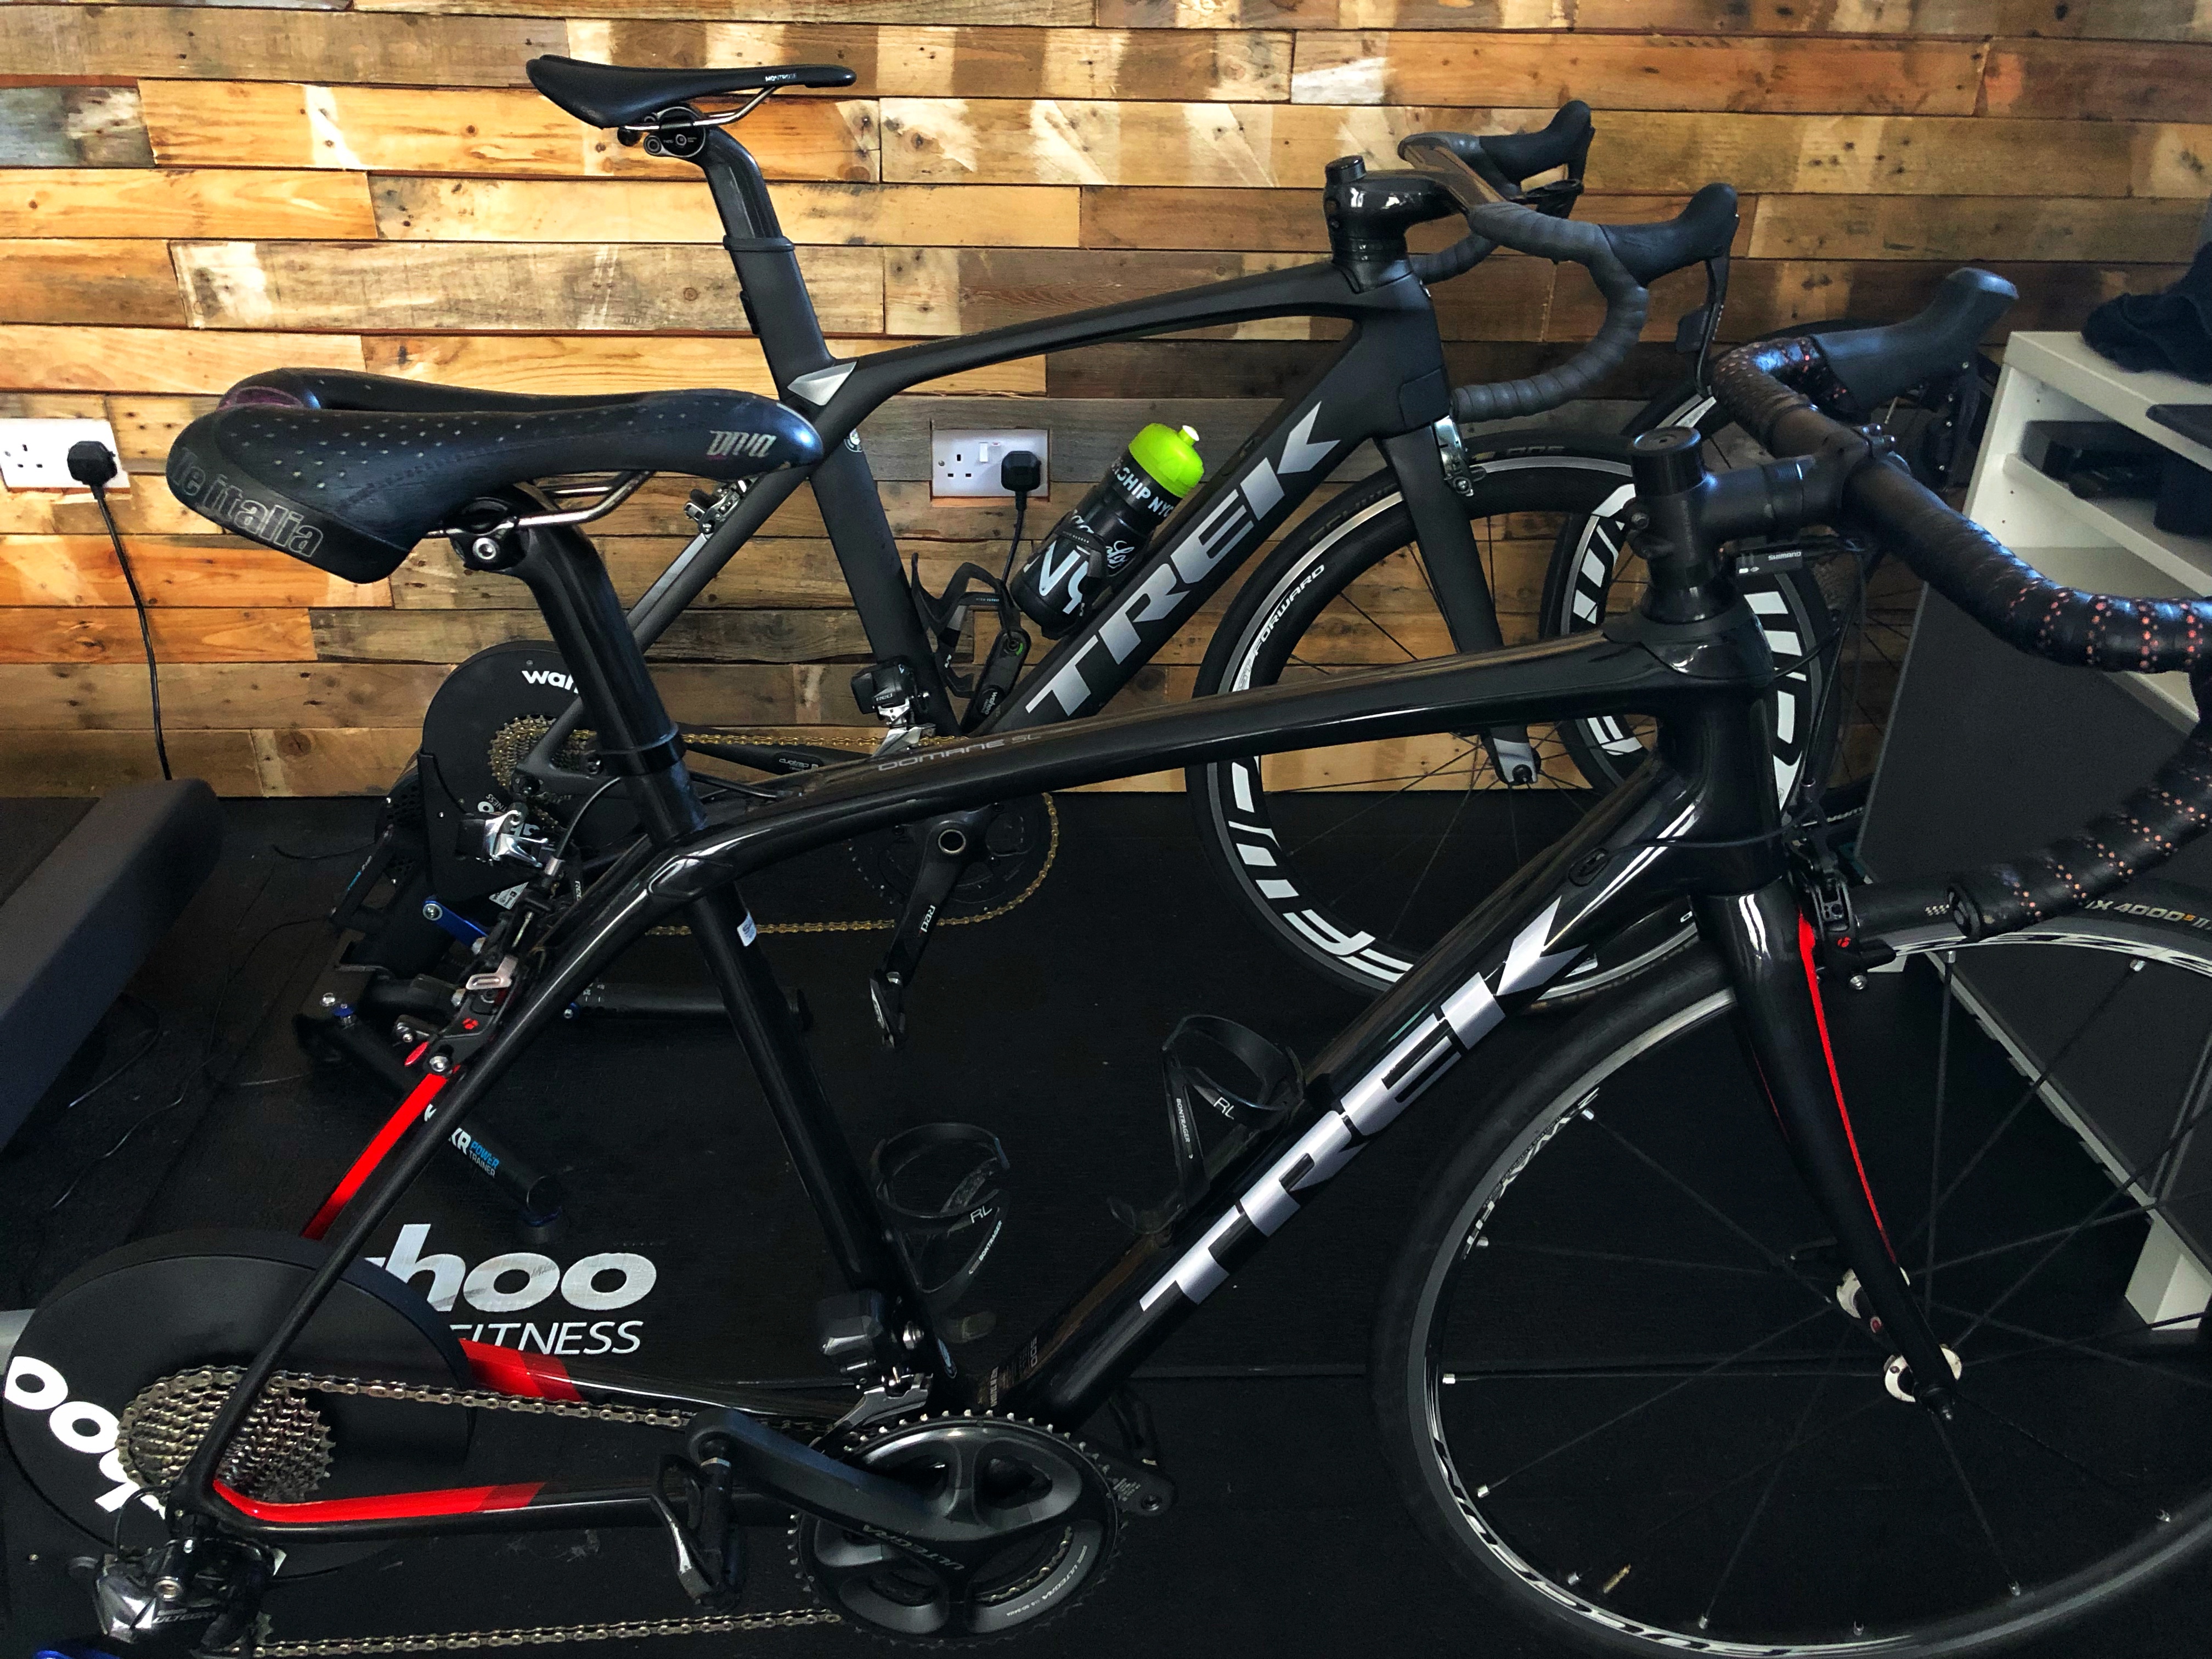
  • Smart direct drive turbo trainer – Wahoo Kickr £999 – we have two of these, which sounds like a massive luxury but we first got one 5 years ago and it is still going strong and as we often find we both are training on this equipment we invested in a second so my husband and I have one each.  Direct drive turbos are basically where you mount your bike directly on the turbo by removing the back wheel.  Your chain will then run on the cassette attached to the trainer.

Now some turbo trainers can be loud!  I have friends that were worried to use at home for fear of upsetting the neighbours.  We are lucky ours are in our home gym so won’t offend anyone and to be honest I am so used to it now I couldn’t tell you if they are noisy or not.

I have a mat under mine as I find it is a total sweat fest.  Invest in some good padded bib shorts, always have a hand towel, bottle of water and a fan!

If you have someone who will write you a plan and sessions that are tailored for your training then fabulous!  If not you can do an FTP test and follow one of the many plans from the programme you choose and they are also very effective.  I use Zwift and there are different routes and sessions available to use.  Doing an FTP will ensure you are getting the most from the workout at the levels that are suitable for you.  Handy hint – there is no need to do the long FTP test – it has a longer warm up period and that is it, the short version complete serves the purpose!  I also have friends who do the Ramp Test instead of FTP though I have not yet tried this so cannot comment.

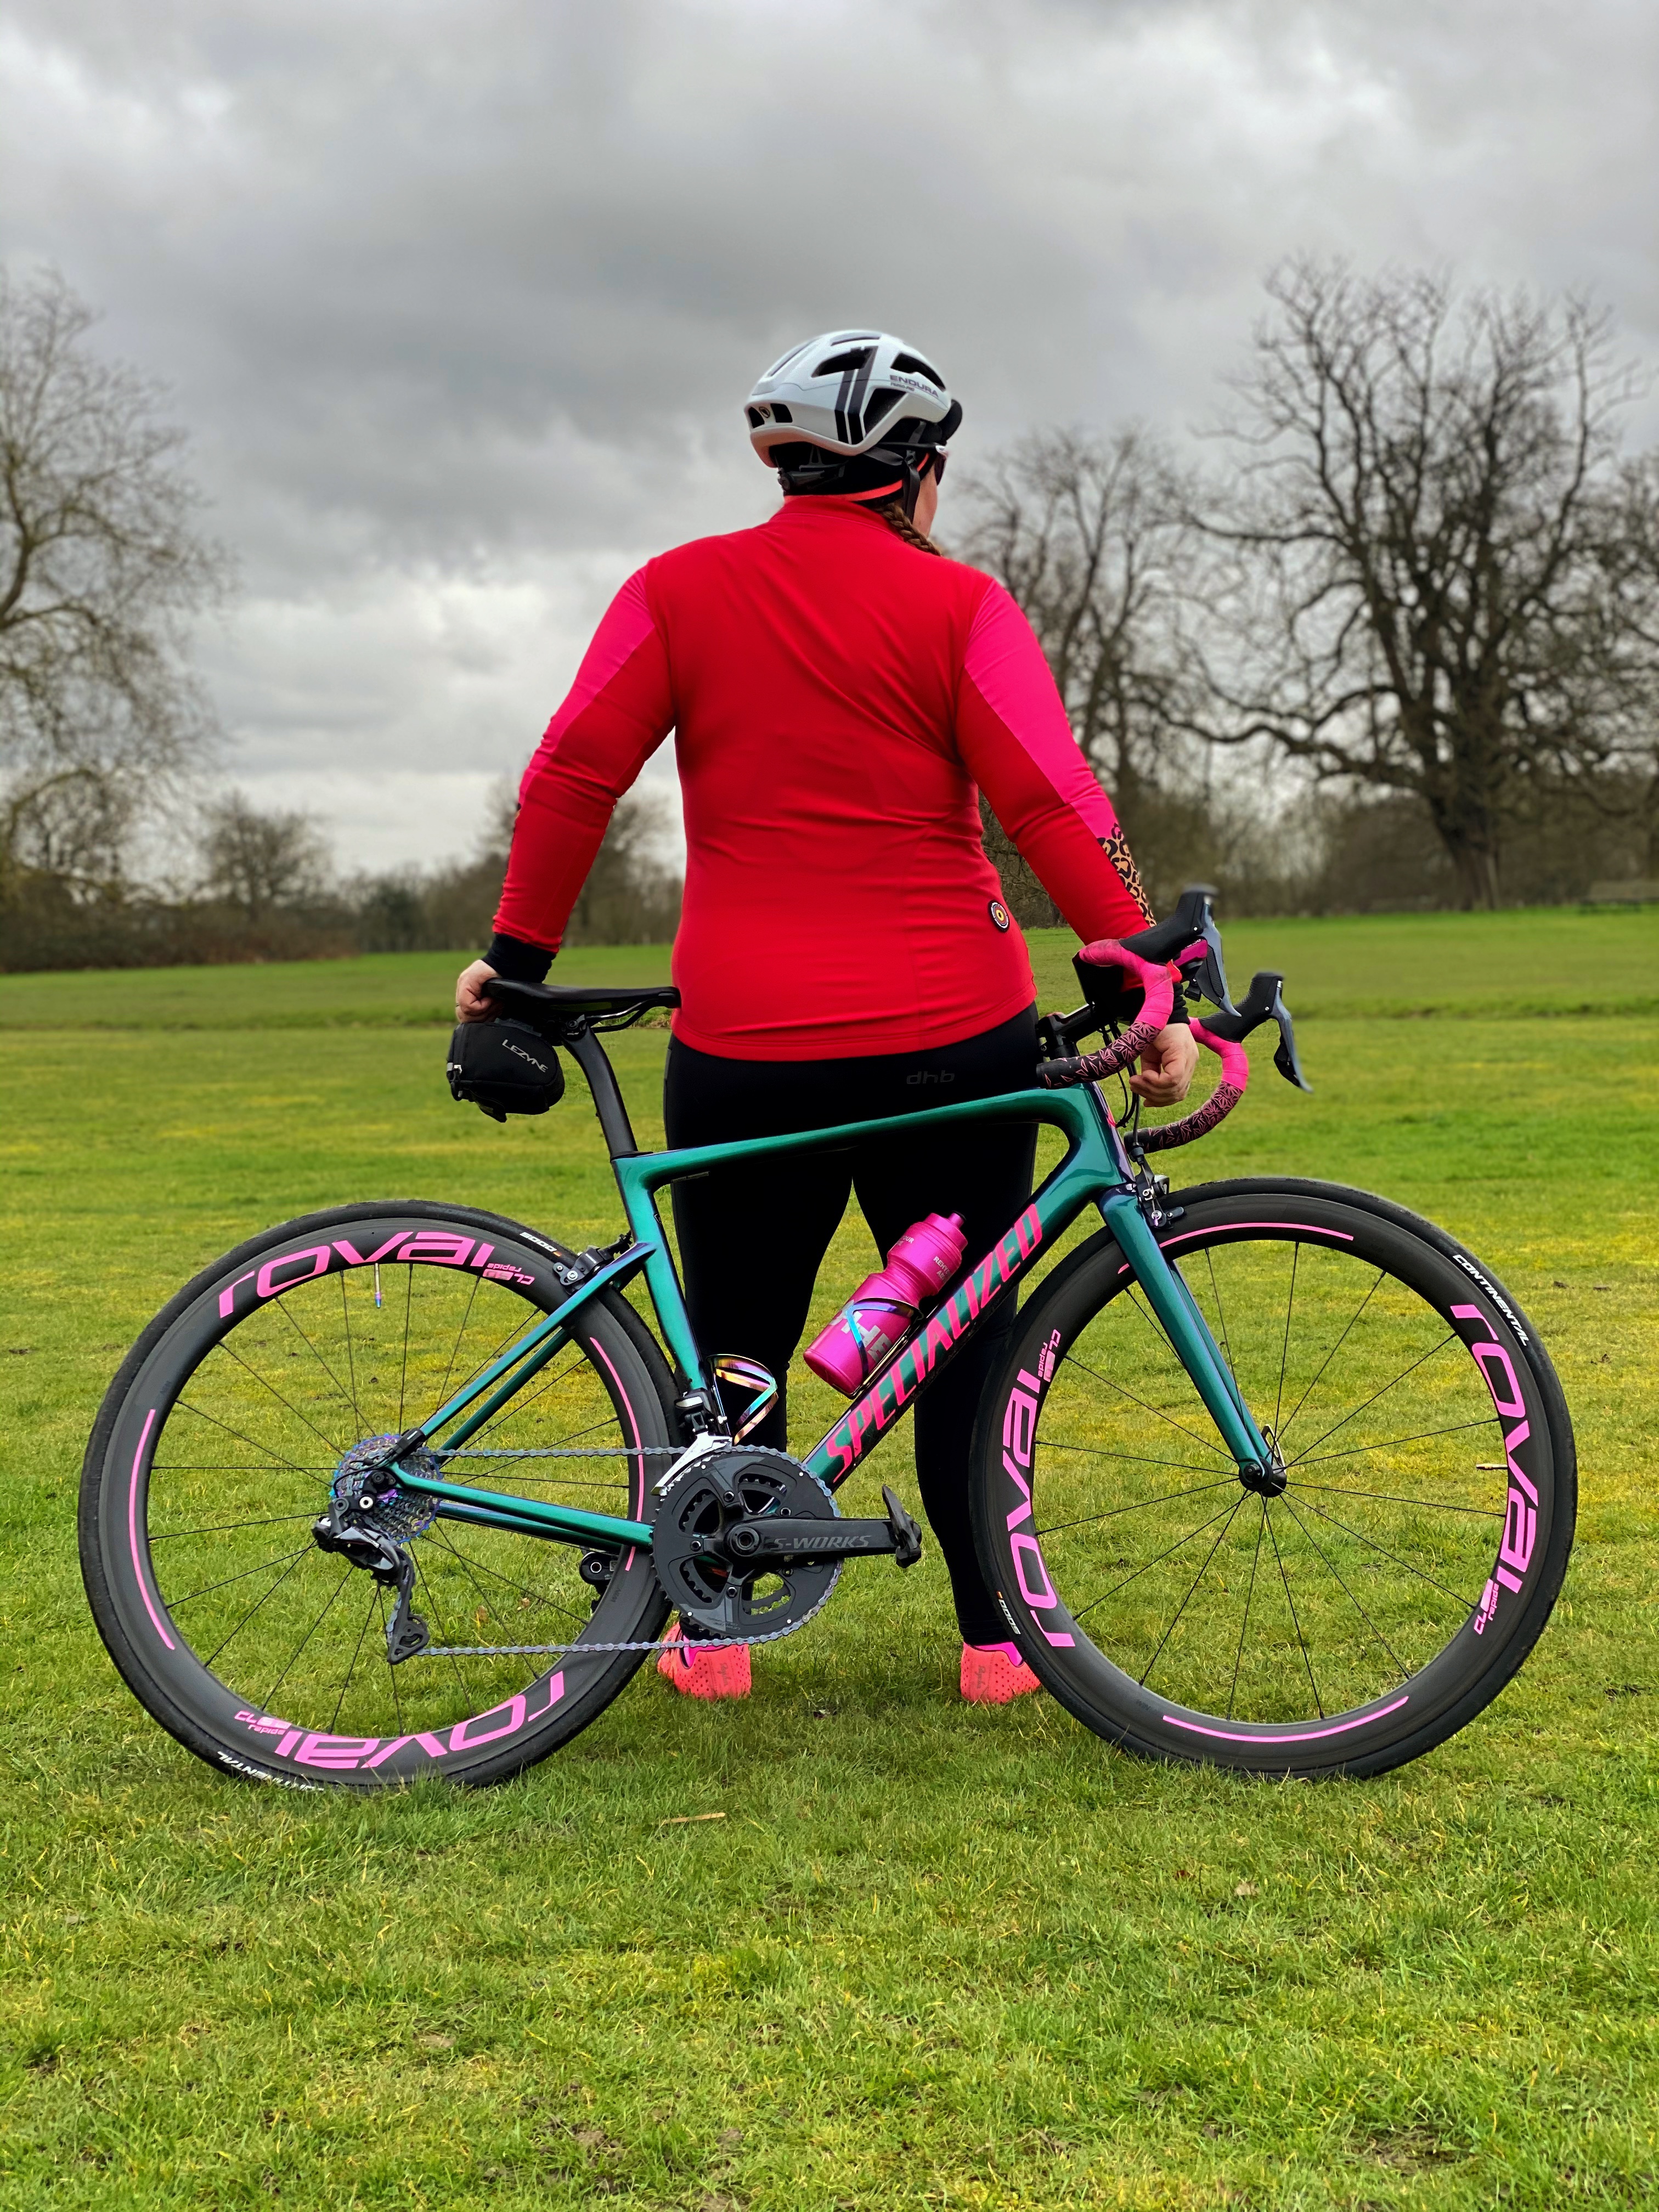
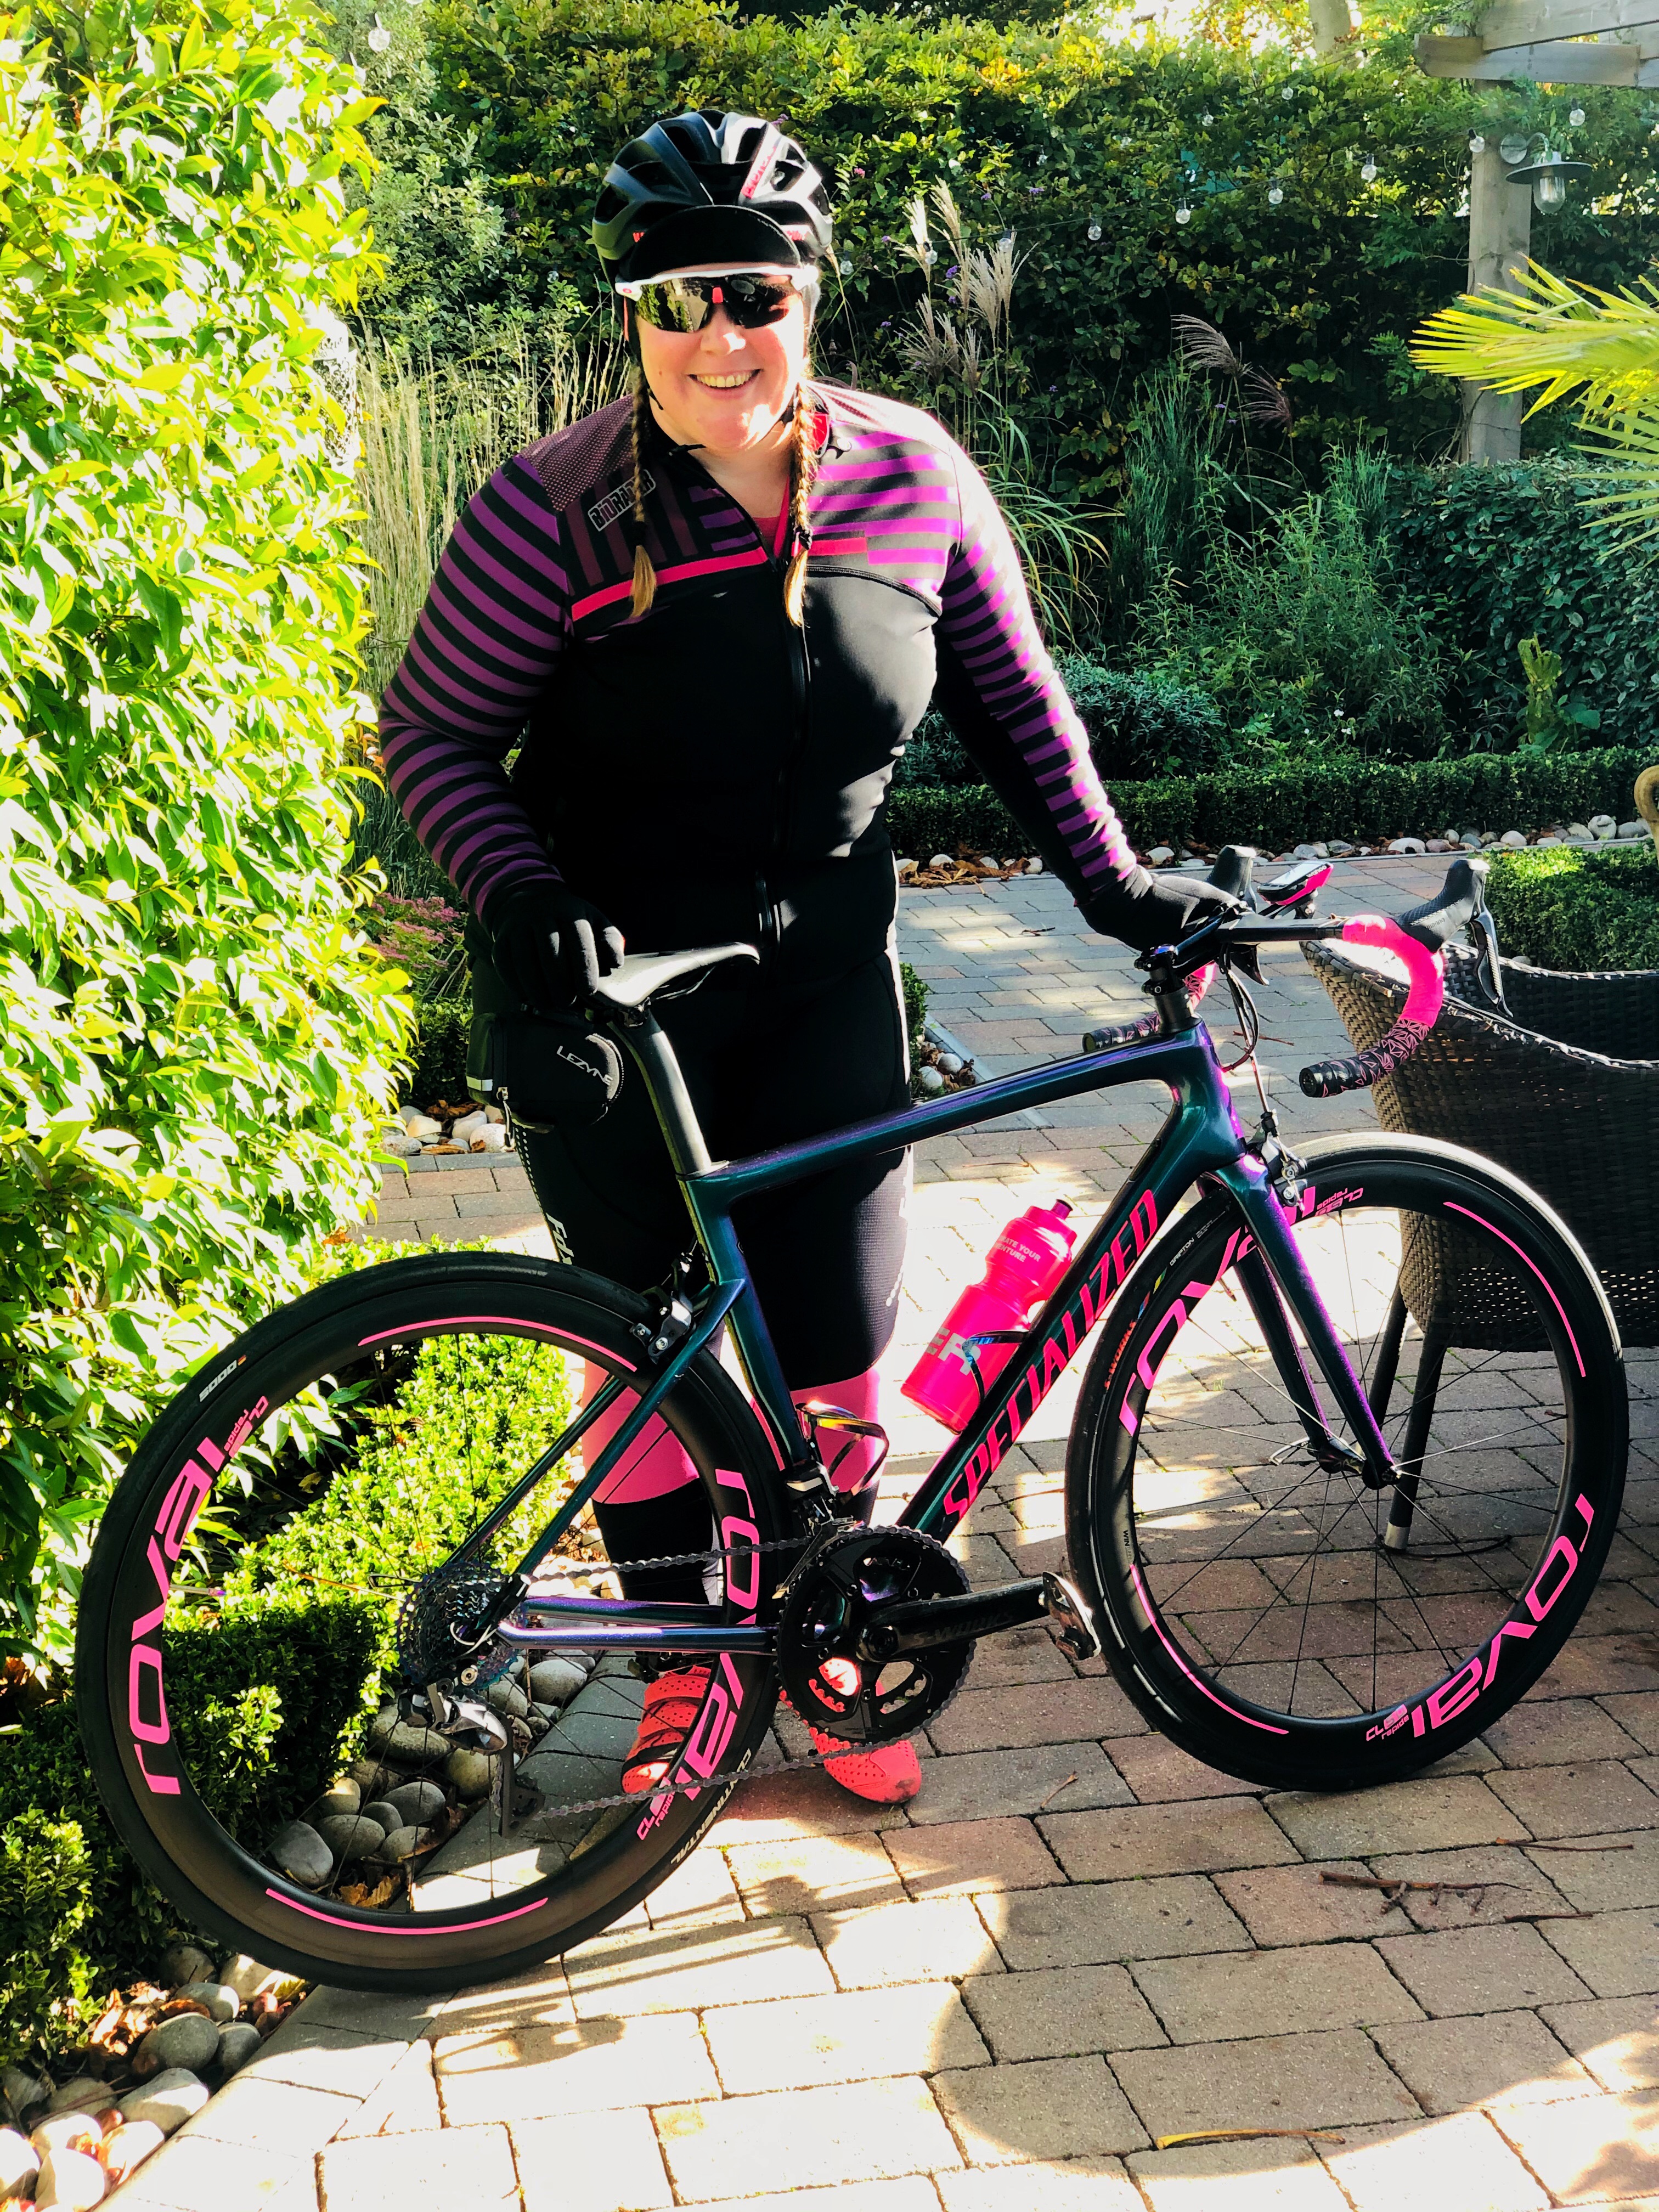
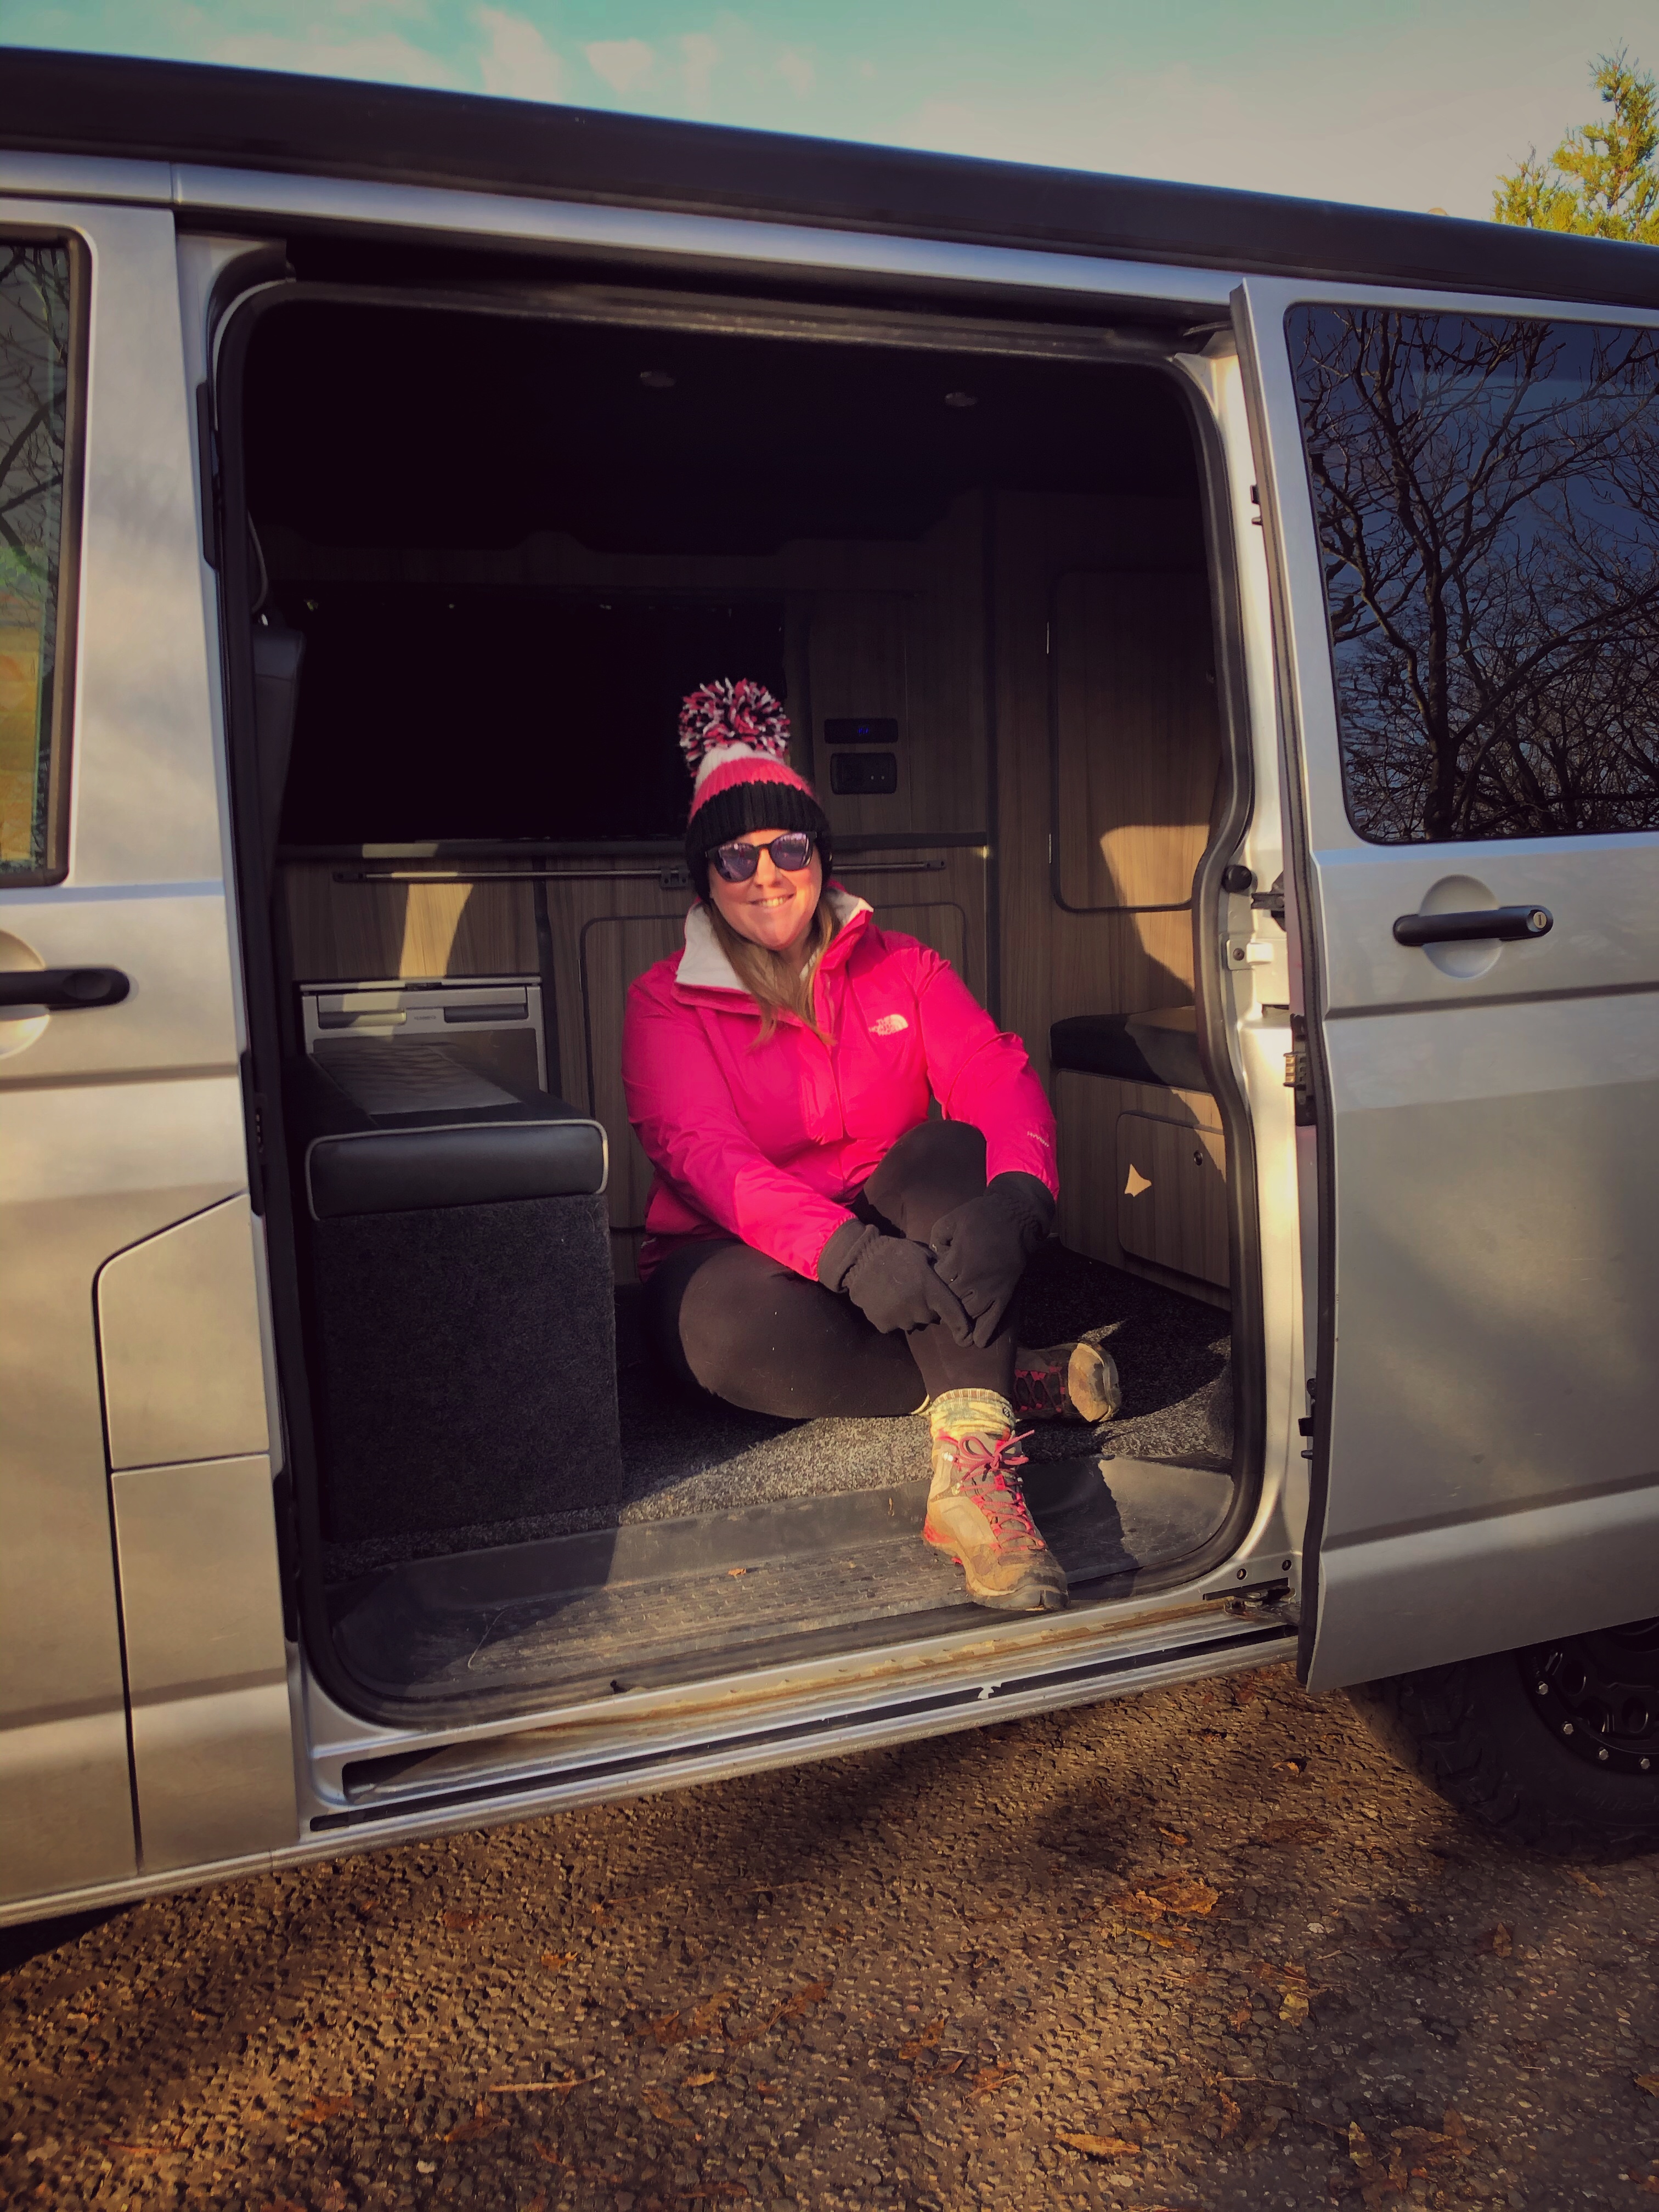
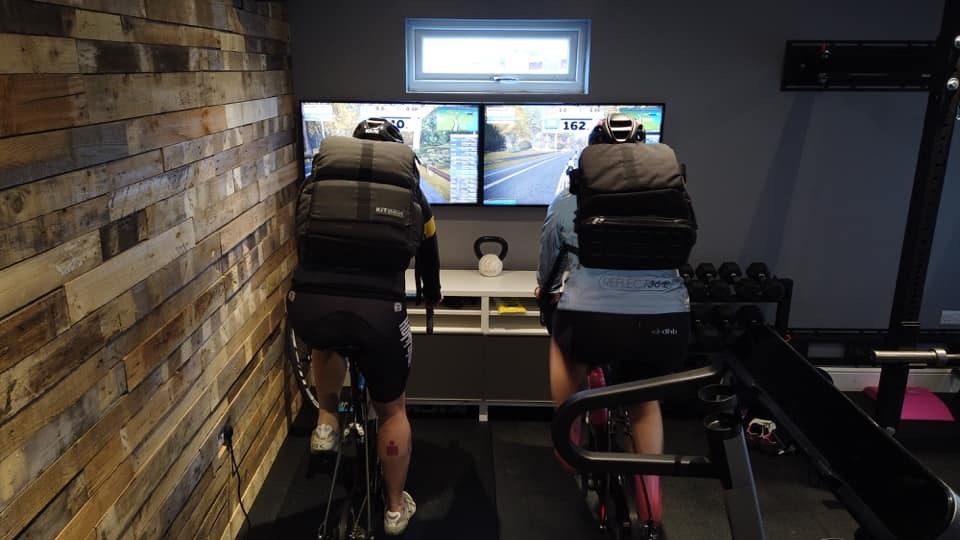
I am on week three of working from home and I have been starting every day with an hour on the turbo trainer, which has started my day nicely though I do need to remind myself to rest also!  My husband and I also thought it was funny to call this our daily commute (the pic was a joke and we do not actually wear our helmets, coats or bags!).

img_1263

Do you have a turbo trainer? Love it or hate it?

Category: Van Life

Start of our adventures with our camper van!

My husband and I have discussed getting a camper van for some time now and last year that became a reality.

We had been leasing a car for a number of years and as that came up to the end the discussions about getting a camper got more serious and we figured why not?

There are so many options when looking for a camper van and it’s so easy to get lost in it all so we decided to start from basics and focus on what we would be using her for (it would seem I have decided the van is a her).

Our son is now 21 (yes we were young) and so whilst a lot of our friends have young children we have more time on our hands.  We knew we wanted something we could travel, sleep, and relax in just the two of us but also with our dog and should our son wish to go with us to also have room for him too.

There are so many makes a models available and then there is the option of buying to complete as a project or buying already converted.

After many many many hours of research and you tube videos and discussions with other van owners (mainly by my husband I admit) we had a wish list and started looking with some seriousness.

We had decided on a Volkswagen T5.1 and knew we wanted one that had either already been converted or to find someone who could do this for us.  We have previously owned a Volkswagen Beetle that was a project but life got in the way and it never was financially possible 10 years ago, so we knew this option would be best for us and also mean we had it ready to use quickest.

We wanted the following:

  • 6 speed
  • air conditioning
  • electric windows
  • pop top but would have had the right camper without
  • not lowered (lowered versions seem to be more popular but we knew we wanted to be driving it off the beaten track sometimes and so we were looking more at the off road look with a higher ground clearance)
  • fridge/freezer
  • sink
  • hob
  • gas hook up
  • storage
  • double bed

We found someone who came highly recommended and they kept coming up in comments on social media and located in Wales – SW Vans and they were super helpful!  My husband explained what we wanted and what our budget was.  After a couple of months chatting with them they were unable to find the 4Motion van we wanted converting.  They were either reserved at the auctions or stupidly over priced.  Terry at SW Vans suggested for what we wanted a 2 wheel drive was more than good enough.  So after a short trip to wales and a test drive we had picked our van.

Since purchasing we have added the following:

  • black out blinds made and fitted
  • side steps on both sides
  • new wheels and off road tyres
  • wind defectors on the front windows and bonnet
  • dash camera and reverse cameras installed
  • new head unit (stereo)
  • additional lights on the front for better illumination when wild camping
  • this weekend we bought a fixed Thule awning at the camping show, just waiting for it to be installed.

So far we have used it for day trips and taken the bikes out in it too and have loved every minute of it.

We have the following trips planned so far:

  • Ireland to do the Cuilcagh Boardwalk Trail
  • Sweden for the Vatternrundan bike ride
  • Norway for one of the Styrkeprøven bike events
  • Ben Nevis for hiking
  • Scafell Pike for hiking
  • and who knows where else!

We have also had many trips to shops looking at items we need for the van and it seems we are creating an endless list – do you have a camper?  Any hints or tips on things that are essential?

Happy camping!

Category: Product Reviews

Bib Tight Review

Whilst we are supposedly coming into Spring it is safe to say the weather does not feel spring like or as if it will be close to that any time soon.  More and more training plans are being adapted for indoor cycling because of strong winds, rain and icy conditions.  However, when it is safe to venture outside layers are key and aside from indoor turbo sessions I have not had my cycling bib shorts on for outside training for months now.  So let’s talk bib tights!

img_0786

So I have bib tights from four brands that I am rotating as follows:

  • BioRacer Tempest – £109
  • DHB Aeron – £85
  • FDX TS Womens – £25.99
  • Sundried Peloton – £60

So my riding and experience using some of the above varies from commuting to local rides and club rides to endurance events which I am qualifying as 100 miles or more.

Generally I get the bib tights out post summer months and when I have really gone past the bib short appropriate weather.  And yes I am a bib tight girl rather than cycling leggings, however, I was impressed with Anna’s Legs cycling leggings.  So I am wanting them to do the following:

  • keep me warm in cold weather, wind and rain – my preference would always be for material where the water beads off.
  • be breathable – nothing worse than sweating and then getting cold and ending up feeling a chill (don’t assume that because it is a cooler/winter month that you will not sweat still)
  • be comfortable – winter training sees more layers and to avoid chaffing and moving of layers comfort is important!
  • have a good chamois pad – this is not specific to bib tights to be honest as I would look for the same in bib shorts.

Now I am not generally one who assumes the more expensive the item the better but I am equally happy to pay more for kit that will last.  Cycling kit is not cheap and there are so many options too and I would much rather go by a recommendation too.  So here is a little review of each of the above:

BioRacer Tempest:

  • Price – £132, which is the most expensive of the four, however, I have had these for five years now so well worth the investment in my opinion!
  • Warmth – these are fleece lined, windproof and waterproof with the water beading off when wet so always up to any weather I have experienced.
  • Comfort – I’ve used these for endurance rides and they would be my go to.  I am a huge fan of the BioRacer kit and would always recommend.  They look slightly odd when hung up as there are additional panels on the knee for ease of movement.  They don’t move about when riding either which is a huge bonus for me.  I have these in custom club kit and they have reflective pixel technology which is great for winter riding.
  • Chamois – the BioRacer vapor pad, which uses material that is breathable, friction reducing and remains dry.
  • Score – 9/10 – definitely my go to choice for all areas I am looking at and they are tried and tested and still amazing!

DHB Aeron:

  • Price – £85, however, these were gifted to me but I would happily pay this price for these.
  • Warmth – these are fleece lined, and really super soft with a luxury feel.  I did find in the wet my legs still got muddy through the material, which was a surprise as I was toasty warm when riding so didn’t think anything had penetrated.
  • Comfort – super soft, although first pair I have had with the cross bib straps but once I figured out how they went was very impressed.  They also don’t move about when riding either which as I noted above is a huge bonus for me.  Not comfort related but they also have reflective accents on the legs which is great for winter riding.
  • Chamois – Elastic Interface® pad, which at first I was concerned with as it is thinner than the pads I usually wear but super comfortable.
  • Score – 8/10 – now I think this score could increase but I have not used for any endurance cycling as yet, with 68 miles being the furthest distance and I marked down slightly as the mud/water penetrated the material a bit.

FDX TS Womens:

  • Price – £25.99, the cheapest of the four and a chance find at an expo.
  • Warmth – not fleece lined and you can tell, but I much prefer bib tights to leg warmers but they are made of a thermal fabric and so serve the purpose just fine.
  • Comfort – when I first came across this brand I was slightly worried that they were so cheap they would not be any good but whilst I would not use for long distance riding I have used up to 50 miles and they’ve been fab.
  • Chamois – DuPont 3D Anti-bac gel padding, which is very thin but actually very comfortable.
  • Score – 7/10 – these would not be my choice for longer distance rides but for shorter rides and commutes these are perfect.

Sundried Peloton:

  • Price – £60, however, these were gifted to me.
  • Warmth – now although these are marketed as ideal for winter and colder climates they are definitely the least thermal of all four if at all.  I was disappointed with the material and although it is breathable lycra I would liken it to gym leggings with a pad in it and after using for my 14/15 mile commute I was pretty cold.
  • Comfort – I was advised to size up, which I did but actually they are too big and this probably contributed to the discomfort I experienced as there was too much movement including of the pad and lets just say it has left me very very very sore.
  • Chamois – I couldn’t find detail on the pad though when I looked on the website I saw some other cycling kit refer to a gel pad.  The bib tights are listed as mens but I was told they would be fine, however, the pad felt too big and there was too much movement when cycling.
  • Score – 5/10 – this score may seem harsh but when I say these left me sore I really mean it and I would have marked a lot lower but I do appreciate a size down may have had a slightly different effect I am still not sold on the material or the pad so unfortunately would be my last choice.

I should note that the DHB and Sundried bib tights were gifted to me but all opinions are my own.

Category: Cycling

Why I train off cadence with cycling

CADENCE! It’s the favourite thing for my husband to say to me when on the bike, mainly because I train to cadence and my sweet spot, that I’m used to, is always a lower than it should be. He says it makes for more efficient riding and to help make me a more consistent cyclist.  I know this and what he is saying,  but as I said it is my sweet spot and where I feel most comfortable when riding but this doesn’t stop him shouting this at me with a smile on his face.

I push a big gear – always have and I know it’s not the most efficient but I find spinning leaves me with lower power and speed. But pushing a tough gear leaves me fatigued quicker.  Think of it as a barbell on your shoulders and you have to hold this and do squats for 10 minutes straight, you wouldn’t go for your max weight, you’d choose a weight which is still a challenge but you can complete for the whole time.  However, I also find on hills (which is the area I struggle most on the bike) that I get up them just slower than others, even on the recent Zwift race series I completed, I found I could hold my own until I hit a hill and at these points I would gradually see people pass me. I should probably concentrate on that cadence a little more and better gear selection as this will enable me to be more consistent on them hills, which I love so much.

54d07885-680e-4109-82da-7a7eda657389

So what is cadence?  In the basic form cadence is the number of revolutions (complete turns) of the crank per minute and the rate which you are turning the pedals as you ride (revolutions per minute, RPM).  The theory behind training using cadence is to improve efficiency when cycling.  If you ride a bike you will have cadence and if you have a bike computer you will be able to see what your cadence is as you ride by using a cadence sensor.

Some people train off heart rate, some off power, some off cadence and some off feel.  There are pros and cons to each and my advice would always be for people to do what works for them, but give them all a go and see what works for you and hopefully you’ll see an improvement  We are all different and what works for one may not be right for someone else.  I don’t have a power meter on my road bike though I do use power when using my indoor turbo trainer as it has the ability measure it.

If you find you are bouncing about on your saddle as you cycle then you are probably in a gear with very little resistance and this results in a very high cadence. If you are struggling turning the pedals then you are probably in a gear with a very high resistance resulting in a very low cadence.  The idea of using cadence will see you cycling for optimum efficiency to your own ability.  I choose to cycle off cadence as my main rides for this year, and recent years, are endurance events and I want to ensure that I will complete those in the most efficient way possible.  No one wants to finish an event feeling absolutely ruined and for me I have found cadence really helps me.

When cycling to a higher cadence of between 80-90 its very important to find the gear that you can just keep spinning in.  This gear will be one that you can still feel a resistance in but isn’t high enough that you cant manage for most of your ride and you tire very quickly in.  The theory behind this is that if you can spin at 85 RPM you should be able to do this on any gradient as long as you choose the correct gear selection.  Obviously if you are going up a hill and in your easiest gear, small ring at the front and big at the back, and can’t hit your rate (this is the area I need work in) there’s nothing you can do other than your best.  The only time you can afford to push a big gear and low cadence is going downhill, as you have gravity working for you.  If you are exhausted at the top of the hill its very important to pedal on the way down to aid recovery as well.

That is not to say sessions with low cadence and high cadence do not have their place in a training schedule either as they certainly do.  Some sessions, often referred to as high gear, will see low cadence and  high resistance, and this can help develop both core and leg strength.  Equally a session using lower gears will see high cadence and can help with cardiovascular fitness and smooth pedal stroke.

img_1139

You may have heard of the saying ‘spin to win’ and this is something I say going up hills!  But this is said with cadence in mind – spin up in a gear that is manageable in order to preserve energy.

Although research into this area will largely see numerous stats that focus on optimal cadence being between 80 to 90 RPM, I have not included a breakdown of figures because this will differ for various reasons but some of which are:

  • type of riding
  • level of ability
  • training or event
  • performance
  • fatigue

And, of course, as always when riding outside the conditions you ride in dictate performance – there are so many variable factors with weather and traffic to name a couple that will always affect performance results but above all enjoy riding.

Happy spinning!

Category: Cycling

Top 5 Cycling Essentials

It’s as simple as riding a bike!  And it is but, for most, your cycling experience will naturally evolve.  When I first started cycling I maintained I would not be one of those cyclists head to toe in lycra (I am now), and that I would never clip in to my pedals (I now don’t cycle without cleats).

There are many different types of cycling, including (but not limited to) mountain biking, cyclo cross, track, racing, and road.  My preference is road riding and below is a list of my top 5 essential equipment for when I ride, particularly for longer rides:

  1. Bike – kind of obvious but without it you won’t be getting very far and as I mentioned above depending on the type of ride you are doing the right bike is key, as is set up.  For endurance events you want to ensure you are comfortable and in the correct position on the bike and a bike fit, in my opinion, is worth every penny.  I have a blog post on the importance of a bike fit that you can read here.
  2. Helmet – whilst this is not a legal requirement, I personally would not cycle without one.  Ensure it fits properly, is positioned as intended on your head and straps at the correct length.  I have a blog post on helmets that can be read here.
  3. Saddle bag – some people opt to carry items, some use a canister that sits in the bottle cage and some a saddle bag, which is what I do.  When cycling I would advise a minimum list of kit that may be useful when out and about including spare inner tube, tyre levers, gas canister and adaptor, and multi tool so that you are covered for most eventualities that may occur.  I have a blog post on what I carry in my saddle bag that can be read here.
  4. Nutrition – event day is not the time to try new things and so nutrition I plan to use on event day is used during training also.  Longer rides will have rest stops with food and drink also but for my main nutrition I stick with what I know works for me.  I also always ride with my wahoo bike computer and have an alarm that makes a noise every 20 minutes to remind me to drink and eat.  Little and often is a plan I stick with and I have found that if I get hungry on the bike it is too late.  I carry some in jersey pockets and also have a bag that is easily accessible on my down tube that I put bite sized pieces into so I can dip in and out as I ride.  Avoid the bonk and fuel properly.
  5. Kit – longer rides can see early starts, late finishes and often through the night so kit being carried may need to cater for different temperatures and visibility.  Layering up is important when riding and some items are easy to put on/take off and carry such as arm warmers, leg warmers, buff, gillet, waterproof jacket.  These items are generally smaller and pack away for easy storage in jersey pockets.  You may also choose for these to be reflective to ensure you are safe and seen and charged lights if night riding!

One last thing which is not technically kit but an absolute essential is knowledge.  If you are going out on the road to cycle you should be aware of the road rules and follow them.  Be courteous to other road users, ensure you signal so other road users are aware of your intentions and always be safe.

Category: Product Reviews

ShowersPass Kit Review

They say there’s no such thing as bad weather, just wrong clothing choices and that can be very true!

The lovely people at ShowersPass kindly sent me some of their kit to try out and as we’ve recently been having rain, and cooler weather I have had all the opportunities to utilise these items.  So heading out on my road bike on a very grey day, with moisture in the air and puddles on the road was perfect conditions for this kit.

I always find it hard to go out if it is raining but if I am out and get wet then I just think well I am wet anyway so enjoy it!  And so it was quite fun to go out and splash through the puddles in the new kit – I mean if you are going to test out waterproof items you have to get wet right?

Showerspass kit
Showerspass top and socks

First up was the waterproof socks.  I didn’t know that was even a thing and although I had heard of water resistant socks I was dubious as to whether or not they really would be waterproof.  I needn’t have been worried as these socks are amazing – literally no water got in.  I have done Ride London four times and the first was the year of Hurricane Bertha where they closed Box Hill and Leith Hill due to flooding for safety, but other parts of the route were so wet that all riders were pretty much soaked from head to toe and for me when my feet are wet the rest of me feels cold.  These socks are amazing for training during the winter months that is for sure!  I also wore these when I was hiking in the Peak District in snow and my feet were not cold or wet once, so there may even be some additional pairs added to my kit wardrobe.

Now the socks retail at £31 and whilst I originally thought this to be expensive I also wore during a night obstacle run that was extremely muddy and extremely wet and never have I been so pleased for these socks.  The photo below does not do it justice but I was surprised how well they held up (and I should note they are not designed for obstacle running) and not only that but they washed up amazingly too.

showerspassmud

Next up was a shirt.  This could be used as a base layer in colder months or as a stand alone top (I have done both).  When moving to winter kit it can always feel slightly odd as you may have had months since you had a need to wear either arm warmers or long sleeves and getting layering correct is key so you don’t overheat as I do tend to get hot pretty quickly but again it was pretty much perfect.  Super soft and comfortable and although longer sleeved it was lightweight, or as ShowersPass describe ‘summer weight’, and also provides UPF 40 protection from the sun.  Although no back pockets like a regular cycling jersey there is a cleverly concealed pocket on the side, which was perfect for me to take my phone along on the ride.  I have also worn this under my cycling jacket for commuting and again no complaints at all.

Showerspass Top
Showerspass Top

The shirt retails at £73 and I will admit I have other base layers equally as good that come in at a much lower price point and are just as good.

When I transition from summer to winter riding there is generally a period where additional layers are added ie moving to thicker socks, arm warmers, gillets, long sleeved jerseys, full fingered gloves, jackets and then bib tights and so these socks and top have been ideal in recent months and as the weather has cooled. They have also been a god send for my winter commuting when the weather is always considerably lower in the earlier hours of the morning especially.

I was really impressed by both items and I am sure I will be getting more than good use of both over the coming months and through the year too.

Category: Fitness

Thanks 2019 – A Little Round Up

I said 2019 was going to be all about the bike and it most certainly was!  I am sure on Instagram I have used the quote before ‘find what you love and do that’ and I feel like that is precisely what I did this year so really no complaints from me!

Cycling shots
Cycling pics from activities in 2019

I have suffered again with my knee, I think I said last year I didn’t realise how long it would linger and I certainly was hoping I wouldn’t see a recurrence this year but sadly that was not the case.  It didn’t stop me just made me change course slightly and try some of that old practice what you preach mentality.

I spent a lot of time in Sweden and I truly love that country, with more planned for 2020.

My favourite events must be those from the Vatternrundan series and this year I completed:

  • Tjejvattern – 62 mile bike ride, with my friend Sandra
  • Halvvattern – 93 mile bike ride, with my friends Steve and Jonas
  • Vatternrundan – 186.4 mile bike ride, with my husband

And I can’t not include:

  • Ironman Jonkoping 70.3 – bike leg of the relay (56 miles), with my friend Gemma doing the swim and run, and our team ‘Don’t Be Shit’ came third in the relay!
Ironman 70.3 Jonkoping Relay Award
Medal and award from the Ironman 70.3 Jonkoping relay

There were many other events and I set myself a goal of completing 5,000 miles this year and I am not quite there yet with about 100 miles to go and I will get it – so close!

I also made it to the shortlist for finalists for both the Sundried and UK Blog Awards for Sport and Fitness, and whilst I did not win it was amazing to make the shortlist.

I have enjoyed supporting friends as they achieve big goals and also my husband who completed Half Marathon de Sables this year despite having primary lymphedema in his left leg.

We have finished 2019 with a new camper van and with that comes so much opportunity for travels and adventure so definitely watch this space!

Van life
T5 VW Camper Van

2020 will almost certainly have more bike involved and I am pleased to start another year as a Foher ambassador.

Whatever you have done and achieved in 2019 well done and best of luck for the coming year also.


Category: Cycling

What’s In My Saddle Bag When Cycling

How do you carry those essentials for cycling?  Do you put them in your jersey pockets?  Do you have a tool holder that looks like a bottle and sits in one of your bottle cages?  Or do you use a saddle bag?

My choice is a saddle bag.  I do have a tool holder but for longer rides I would prefer to use the bottle cages to carry two bottles and I would rather not have everything stuffed in my jersey pockets though so admit to putting food in my pockets because well snacks!

So my bike set up for a normal ride would/could include the following depending on distance:

  • 1 or 2 bottles in the cages
  • saddle bag
  • top tube bag for longer rides for easy access to nutrition for fuelling

I used to use an Ortlieb saddle bag but have since moved that to my winter/commute bike and my summer bike now has a Lezyne saddle bag as below:

  • Ortleib Micro – fastens with a roll top end and stretchy cords, waterproof and not too big but definitely not the smallest either, can fit a spare inner tube, levers, tool, canister and adaptor and more (can find this bag for £23.99 here)
  • Lezyne M – fastens with a zip, waterproof and pouch on the outside to fit the Lezyne multi tool, very compact though fits a spare inner tube, levers, tool, canister and adaptor, this bag also has a small reflective strip on the bag too (can find this bag for £19.49 here)

Both of the above bags fit by a mounting system that attaches to the saddle rails with an attachment on the bag to slide and secure on the fitting as below:

So what do I put in my saddle bag?  Knowing many cyclists I see the different things people take with them on rides – sometimes not enough and sometimes way more than necessary (in my opinion).  Here is what I carry in mine:

  • Spare inner tube – if I can fit it in the bag in the box I do, so that if I am unlucky and have an issue with my tyre (especially the side wall as I have seen this happen to others before) I can use some of the cardboard to line the tyre to get me to the end of my ride, some people take a small piece from an old tyre.  Also remember if you have different bikes to ensure you have the correct inner tube as they come in different sizes with different valve lengths, for example I have a winter bike with normal rims and a summer bike with deep rims and so I couldn’t use the same inner tubes for both.  I ended up having separate saddle bags for each bike for ease and not having to swap items out or try and remember to do so, which is too easy to forget.
  • CO2 gas canister – not a must for everyone as some people carry a small hand pump but I don’t, and for ease always opt for the gas, just be careful when you use it or keep your gloves on as they get super cold!  Again if you have different bikes (more road versus MTB then make sure you pack the right ones – I use 16 gram for my road bike).  Just remember if you do use a gas canister that when you get home to deflate your tyre and pump up again with a track pump as the gas will lose pretty quickly with at least half the inflated PSI overnight!
  • CO2 gas canister adaptor/inflator – I have a small adaptor that screws on to the top of the canister. I know others that have a CO2 inflator and the benefit of this is not getting frozen fingers and also being able to release as much or as little has you want/need.
  • Tyre levers – I have always opted for plastic rather than metal so I don’t damage my wheels.
  • Multi tool – just in case as you never know when you might need it.  Some people carry more like a chain breaker though I admit I don’t.
  • Depending on the length of the ride I may also add a spare individual sachet of chamois cream .
  • Disposable gloves – I often forget to replace these but if I remember I have a pair also just in case so I am not covered in lube/grease/wax if I have a mechanical or chain slip.
  • Pre-glued patches – I don’t personally carry these in my saddle bag but do know others that do and you can use these if you puncture more than once and for minor tyre repairs too.
Saddle Bag Contents
What I keep inside my saddle bag when cycling

I have not yet tried my hand at bike packing so the bags and use I reference are based on the sort of road riding I do and there are a whole other range of bags for other types of riding!

Happy cycling!

Category: Fitness

What’s on your Christmas wish list?

It is now coming to the end of November and the shops are already stocking full aisles with their Christmas goodies.

Now is a good time to start thinking about gifts with Black Friday round the corner and bargains to be had.  So what is on your list?  Here is some of what is on mine:

Big Bobble Hat – I’m a huge fan of these hats and come winter I am always wearing one and no you can never have enough of them.  Use code FATGIRLFIT10 for 10% off your purchases.

Stance Socks – everyone gets socks for Christmas right?  I have a growing selection of socks from Stance including socks for cycling, running, hiking and everyday wear.

Nudge Jewellery – I have some of these bands and have also bought them as gifts for others.  For Black Friday you can use code BLACK30 for 30% discount. You can customise with whatever you want on them too – what would you put on yours?

img_0419

Foher – oh where to start?  Love it all, want it all! My ambassador singlet, cycling kits and tanks are my staple items worn through my training and I have my eye on many more! foherpinkbikeposse

Stomp The Pedal – just got myself the new signature hoodie, perfect for winter months, £45, which I have been living in lately but loads of other great items including the flowy tanks and trucker caps.

Strong Girls Club – I am in love with some of the items in this range and literally want all the tees and jumpers but particularly like this jumper, £45.

stronggirlsclub

Yoga Wheel – I am making a conscious effort to include stretching in my training and especially focus on back strength in relation to my cycling.

reehutyogawheel

CJ Skinhealth – I have gone from the girl who uses whatever is in the shower to using these two products daily, £35.90.

Cycling Wallet – the cycling wallets at Rapha have become one of my cycling essentials with enough room for my phone, bank card, money, and keys.  Mine is a little well worn so its probably time for an upgrade, £25.

Buff – I saw one on instagram and really want it but the postage costs just don’t make sense for what the item is though I am still looking into it!  It is from Michelle Vesterby’s Keep Smiling range.

keepsmilingbuff

Spoke and Solace – I really like some of the clothing from this website, all 100% organic, and in particular like the #goneriding and #bloodycyclist (slightly tongue in cheek) tshirts, both £24.

bloodycyclist-t-shirt

Proviz – not one for me but instead for my April dog – a little coat for her in the winter for our walks, £35.99.

What is on your list?  Anything else I should add to mine?

  • « Previous Page
  • 1
  • …
  • 9
  • 10
  • 11
  • 12
  • 13
  • …
  • 36
  • Next Page »

Welcome to Fat Girl Fit!

Welcome to Fat Girl Fit!

Be Fearlessly Unapologetically You!

About me

  • Facebook
  • Instagram
  • Pinterest
  • TikTok
  • Twitter

Level 2 Qualified Coach & Commissaire

Foher Class of 2026 Ambassador

100 Women In Cycling 2021

Recent Posts

Learning Swedish With SFI Update

When In Sweden, It Would Be Rude Not To Fika!

A Day Exploring Visingsö By Bike

Search

Jag klarade mitt nationella prov i Kurs D 🎉 . I re Jag klarade mitt nationella prov i Kurs D 🎉.I recently posted about my SFI (Swedish For Immigrants) journey learning the language..So the learning path is Kurs A, Kurs B, Kurs C and lastly Kirs D.  In order to pass each level you have to pass four parts including listening, reading, writing and speaking..I recently did the National Tests for Kurs D and and pleased to say I passed 💙💛.Of course I need to continue to now put it into practice but pretty chuffed right now! .#swedish #sfi #fatgirlfit
Happy 2 year anniversary in Sweden 🇸🇪💙💛 . Well tec Happy 2 year anniversary in Sweden 🇸🇪💙💛.Well technically it was yesterday for me and today for my husband.  Wow that has gone quickly!.Now on to more adventures and continuing our Swedish journey 🥰.Tack Sverige för att ni har oss 😘.#sweden #livingabroadlife #fatgirlfit
It is really important to me if I choose to live i It is really important to me if I choose to live in Sweden to learn the language.  I wrote a piece on the blog previously and since then I have continued trying to improve my Swedish language skills..This largely with the Swedish For Immigrants (SFI) course, Duolingo and I’ve also started with @slowswedish_ which is fab 🇸🇪 although I cannot lie and I find it a really tough language to learn - my brain works in English and I struggle to get the grammar and word order..I’ve written an update on the blog about how it is going - link in bio 💙💛.#swedish #sfi #fatgirlfit
Sunsets and sunrises - I will always love the chan Sunsets and sunrises - I will always love the changing colours of the sky and those on Sweden always deliver 🌅.#sunset #sunrise #sweden #sunsets #sunriselover #prettysky #swedishsunset #swedishsunrise #fatgirlfit
On our holiday recently I swam in the sea! This is On our holiday recently I swam in the sea! This is huge for me as I am terrified of open water..If I can’t see in the water, I am not getting in..You never know whats in there - could be sharks 🦈 .But the water in Cyprus was crystal clear and although we did not see any turtles 🐢 we saw so many fish 🐠 and I loved it 💙 .#cyprus #protaras #cyprus🇨🇾 #seaswimming #swimminginthesea #snorkeling #snorkel #protarascyprus #holidayfeels #holidays #fatgirlfit
Holiday feels ☀️🏖️🛫🍹 . #cyprus #protaras #cyprus🇨🇾 Holiday feels ☀️🏖️🛫🍹.#cyprus #protaras #cyprus🇨🇾 #protarascyprus #holidayfeels #holidays #fatgirlfit

Copyright © 2025 Fat Girl Fit · Theme by Blog Pixie