• Home
    • Van Life
    • Cycling
    • Hiking
    • Events
    • Product Reviews
    • Fitness
    • OCR
    • Running
    • Guest Posts
  • About
    • Who Is The Person Behind Fat Girl Fit?
    • Privacy and Cookie Policy
  • Collaborations
  • Interviews
  • Get in Touch
    • Facebook
    • Instagram
    • Pinterest
    • TikTok
    • Twitter

Fat Girl Fit

Be fearlessly unapologetically you

Category: Cycling

FTP Builder Training Plan

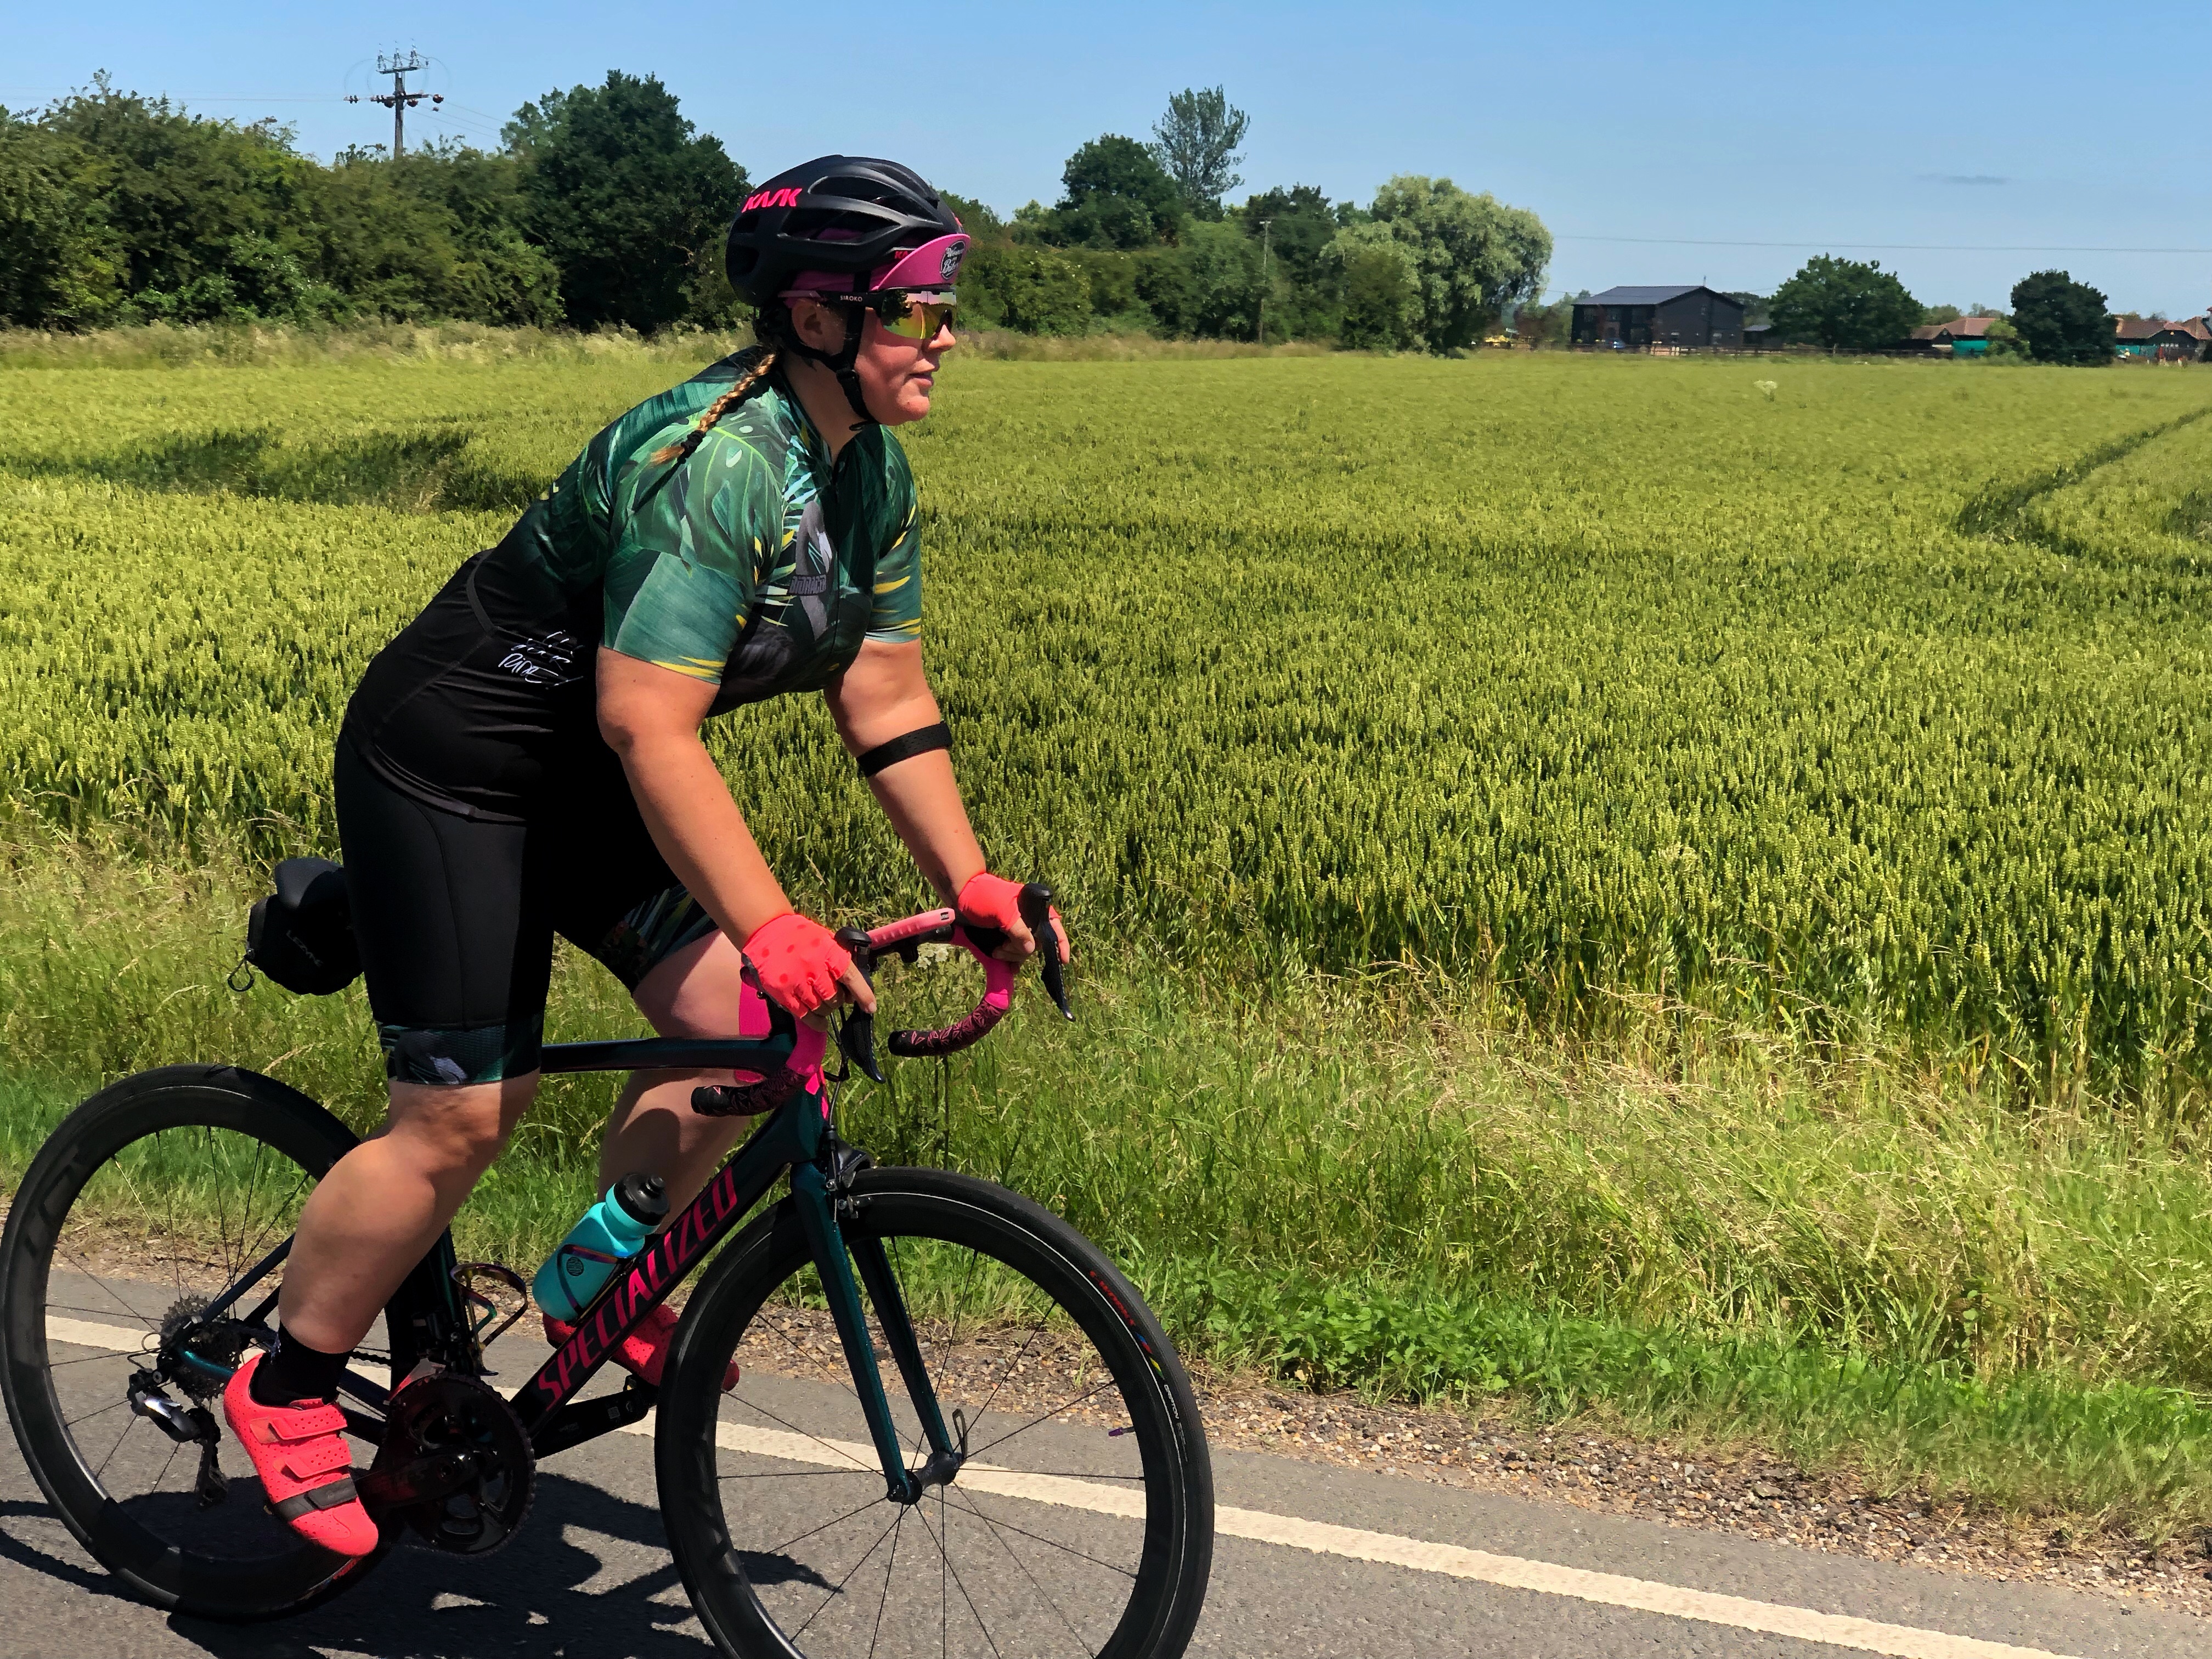
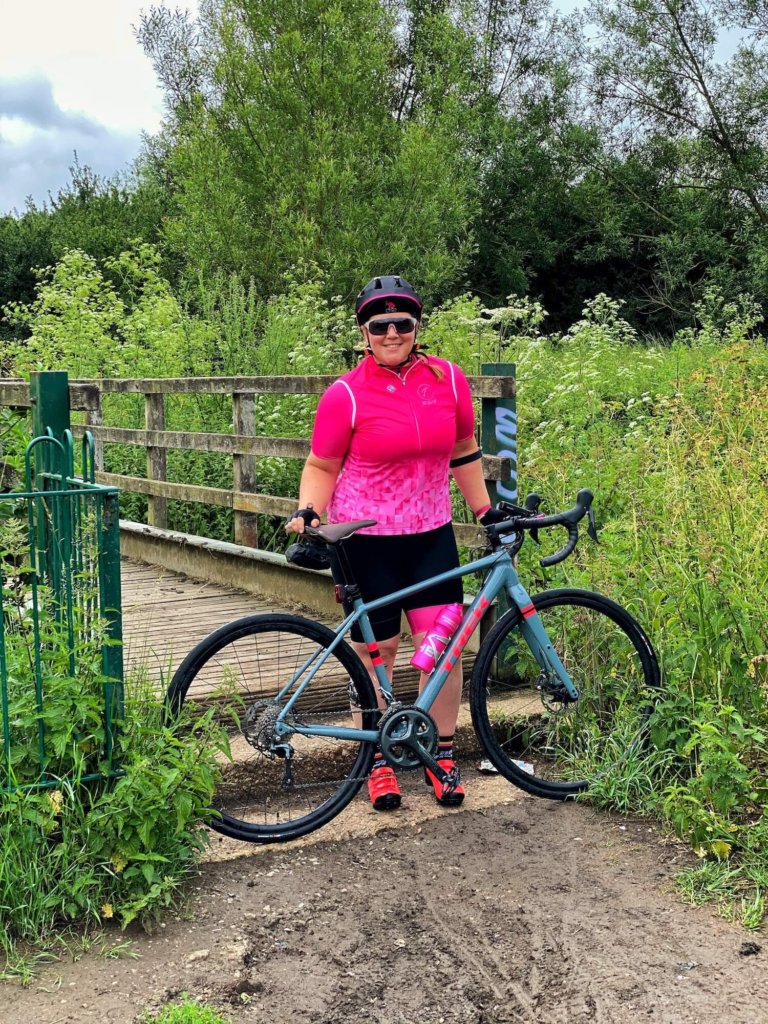
I am someone who likes/needs a bit of structure and so despite no events going ahead I wanted to continuing with my training and decided to do the Zwift FTP Builder plan. Now there are many training plans available on Zwift and you should take the time to look at what your end goal is a pick a plan to suit. I opted for the FTP Builder to focus on power and whilst it does say for those new to structured workouts, which is not me, the sessions looked to be in line with what I wanted. It is a 6 week plan and has 4 sessions a week with 2 of the weeks having an optional 5th session if you want. The sessions cover the following:

  • foundation: relatively low intensity ride with goal of spending a large proportion of the ride into endurance zone 2
  • strength: repeats of short and max efforts with the goal to increase muscle use and max strength
  • tempo: most time spent in zone 3 to help increases muscle glycogen storages that improves performance by being able to maintain the intensity
  • intermittent: includes short high intensity intervals with short recovery
  • threshold development: the toughest one that targets the increase in FTP with short intervals at intensity of zone 4
  • optional: 2 of these sessions where you can choose how hard or easy you ride

On my Zwift companion app it was very easy to see how my plan was scheduled for the week and each session says when it will be available and you can click in to each to see what is in the session.

Every session completed then gets ticked off and you work your way through the weeks. I am one of those sad people who love to get my stars in a workout and so liked seeing the green tick when I completed a session too! Here are my stats from the end of the training plan (I bloody love a bit of data):

Yes i know it shows 33/31 which makes no sense but that is because of the 2 optional sessions that I completed.

So how did I get on? Well obviously the only way to measure if it was effective is to compare my FTP result from before the plan to after and whilst the first test was the shorter FTP test and the second a ramp test so not a direct comparison there was a significant increase from 207 watts to 222 watts, that I was absolutely chuffed with!

If you are looking to work on your power I would definitely recommend this training plan – now I am taking an easy week and will start another plan next week – just need to decide now what one I do.

Category: Cycling

Recommended Cycling Jerseys

When I first started cycling I was adamant I would not be one of those people who were head to toe in colour matching lycra kit.  I am probably not the only person who has done this and now looks at their cycling kit and thinks well I couldn’t have been more wrong – I mean matchy matchy is everything!

But on a serious note cycling specific kit serves a purpose honestly.  I wrote a blog post about my top 5 bib short for cycling that you can read here.  So that was the bottom half and now I am talking about the top half.

You don’t want jerseys too big so they are flapping around, but you want them to be breathable and comfortable.  I mentioned kit having a purpose and you will find different jerseys have different designs but most with back pockets to store food, spares, phone etc and these are much more easily accessible than having to stop to get items from saddle bags as an example.

Now I find jerseys and more specifically the fit is personal preference.  For example, my husband prefers a more fitted jersey and I want to feel like I can breathe!  You will find a lot of brands will offer different designs such as casual fit, close fit, aero, light and heavier weight fabrics and much more including some with material that help protect from the sun too.  Being larger chested I often find sizing can be awkward and have experienced kit in the past that will fit around the bust and be too big elsewhere.  So here are my favourite cycling jerseys:

Foher – in addition to my ambassador kit from last year and this year my favourite is the Pegasus kit.  This will be no shock if you follow me – just take a look at the design, its gorgeous!  For my UK friends I would note that the size comes up smaller than ours so I would advise whatever you take here, you may want to consider sizing up.  Washes great and what I love most of all from the kit from Foher is that it is so different from the kit available elsewhere in the UK and really stands out!

img_2621

BioRacer – I have a lot of kit from BioRacer and all fab but hands down my favourite is my custom kit.  This kit never fails!  Good for all rides – short or long, washes fab and lasts for years!  I mean literally years – I have not had the custom kit for that long yet but other same cut/fit I do and it’s literally as good as new.  You can see below another style similar as an example.

img_4192

Fat Lad At the Back – as I mentioned I am larger chested and so find sizing for jerseys can sometimes be an issue.  This brand has a female arm called Fat Lass At The Back and the female jerseys don’t come in standard sizing.  Instead they go by bust size so you literally select the same inch measurement as you would for the bra you wear and the result is such a comfortable fit.  I have a number but my favourite would have to be the ride for cake jersey.

3ad130e5-643d-407f-b235-415a9a75b1f1

Stomp The Pedal – I have the signature jersey in guess what colour?  Neon pink of course!  Tarsh (the founder of this brand) most definitely lets her personality shine through her collections and I love how bright and different they are.  The pink is very me and as such matches a lot of my other kit and bikes too.  Similar to the Foher kit I would perhaps size up in this fit.

img_0166

Specialized – I have a couple of jerseys from Specialized and can’t fault it one bit both in terms of design and comfort.  I am actually looking at some of their off road jerseys for my gravel bike so will be checking out what they have on offer for that cycling discipline too.  Here is another jersey I have which is similar and again fab – also need this one in grey as my friend has it and I have kit envy!

img_2528

Liv – this jersey was a gift from a friend and is more of a classic design but the fit is fab and very comfortable when cycling.  It also goes with all the black bib shorts I have so win win!  However, sadly not available on their website any longer.

img_2791

DHB – this is Wiggle own brand and again like I mentioned for some of the above I really like some of their brighter kits.  A lot of their kit is also much cheaper compared to some other brands but the quality is still fab.  They have a number of items in their current sale at the moment too, which is where I got the jersey in the below photo from!

img_3990

All of the above jerseys are comfortable, wash fantastic and very importantly for me don’t move around whilst riding!  I cannot stand wearing jerseys that move up and down whilst riding as I spend too much time trying to pull them back down again and well lets face it that is just annoying!

Some of the items mentioned above were gifted, however, all opinions are my own.

Category: Cycling

Numb Hands Whilst Cycling?

When you ride do you find you ever get numbness in the fingers or hands?  I know I do, especially on longer rides and it is actually very common!

When I first started cycling I was on a group ride and it had been explained to me the various hand signals that I may see being used and what they meant.  Obviously it takes a while to get to grips with these but most are self explanatory.  However, the kind gentleman who I was following during the ride had pointed out holes, parked cars to indicate he was moving out into the road, and indicated slowing but when he started shaking his right hand I went into panic mode and was frantically searching the road surface for some kind of debris or obstacle and there was nothing.  Shortly after we stopped and I asked what he was indicating to and he said nothing his hand was numb ha ha (yeah I felt a bit stupid).  But I find myself doing the same thing when I get numb hands by shaking them out.

So what causes this when cycling?  There are a number of things that can cause this but the two most common being handlebar palsy (otherwise known as cyclists palsy) and sometimes carpel tunnel syndrome though this is more rare.  Sounds a bit medical right?  So if we take it back to basics a little both are effectively caused by compression of nerves (radial, medial and ulnar) and this is largely because when riding you may (mostly unknowingly or unintentionally) find you are putting pressure on your wrists/hands when cycling.

There will be instances that are unavoidable such as poor road surface or roads that are cobbled as they will inevitably cause vibrations that will travel up the bike frame to the bars and ultimately your hands and this can also cause tingling and numbness over a period of time.

There are many things that can help with this, such as:

  • Bike fit – I am a huge advocate of a proper bike fit!  The smallest of changes can make such a positive difference to your riding experience, prevent injuries and give more enjoyment whilst riding.  I won’t go into detail here but I do have a separate blog posts that goes into the importance of a bike fit in more detail that you can read here.  With regards to numbness you could find you may benefit from checking brake and handlebar position, which could play a part especially if they are too high/low or close/far from you.  It could also be related to seat height.
  • Strong core – the better your core, the less you will be leaning heavily and applying pressure on the handlebars when cycling so there is work that can be done off the bike to see benefits whilst on it too.  A good strong core should be able to see you able to ride using just fingertips or even hands free – though maybe practice on a turbo and keep safe on the road!
  • Gloves – I do believe this is personal preference.  I always wear gloves when riding but I know others who don’t like or feel the need for them and neither is right or wrong but could protect you in the case of an accident.  However, if you do suffer from numbness in the hands or fingers then the padding in some gloves may be of a benefit to you.  The padding in the gloves are normally placed exactly where you will have more pressure in the riding position and done so in order to stop compression of the nerves that cause this. My glove of choice is the summer mitts from BioRacer.
  • Arm position – you may have cycled before and heard the term chicken wings?  You should not be in a position where your arms are fully out stretched and rigid.  You should have relaxed shoulders and a slight bend in the elbow and be able to hold the bars and move your arms a bit like a chicken wing.  This is a result of a relaxed upper body position.
  • Hand/Handlebar position/movement – when I ride I ride on my hoods but when climbing I shift my hand position to the tops so you naturally have pressure on different areas.  I rarely (if ever) use my drops but that would be another position also.  You would be less likely to experience this if riding in a time trial position or using TT bars because of the position on the bike being so different and having different pressure points.
  • Handlebars – the bike I currently ride has aerobars and I find these to be the most comfortable I have used whilst cycling as there is more surface area to navigate and use for different riding positions.
  • Bar tape – not just to look good but also for comfort and you will notice a difference if using super thing tape on your bars.  I am currently riding with Specialized bar tape but I am also a fan of Lizard Skin too, both of which have a cushion that I find comfortable.

Happy cycling!

Category: Cycling

Why Do Cyclists Do That?

I was cycling recently and one stretch of road had some truly awful road surface with so many holes, wide cracks and uneven surface on the left hand side where I would normally be positioned when riding.  I had to indicate several times to move out to the right and thankfully the driver behind me was very patient and this was not an issue.  Shortly after we came to a set of traffic lights and it was red so I stopped and the driver pulled up beside me.  They politely asked why I kept moving out and so I explained that the holes and cracks that he could drive over in a car could have terrible consequences for a cyclist.  He said that made sense and when the lights changed we both set off on our way.

Now don’t get me wrong there are some terrible cyclists out there, but there are also some terrible drivers so lets not tar everyone with the same brush as there could be a very plausible reason.  There are so many things like what I outlined above, that I am sure are unknown to those who do not cycle and so I thought I would list a few and share why cyclists may behave differently on the road to a car user.

  • Potholes – as mentioned earlier a hole that a vehicle could easily drive over could cause an accident with horrible consequences for a cyclist.  This could cause punctures, bent wheels or cause a flip off the bike.  You may see a cyclist move further out into the road, after indicating and when safe, to avoid such obstacles.
  • Manhole covers – particularly dangerous when wet, especially on slick road tyres, as they can cause wheels the slide but also can be sunk into the ground and have the same effect as potholes so similar behaviour may be observed as mentioned above.
  • Speed bumps – the same as a car driver, a cyclist needs to anticipate the obstacle whilst also checking the road surface on the other side so you may notice a cyclist lower their speed before going over speed bumps.
  • Cycle paths – I commute on the CS3 and it is great to have a safe space to cycle that separates the car users and cyclists, however, if there are roadworks the signs are very often put in the cycle path.  These paths are not cleaned that often either and more often than not end up with debris that can cause accidents and punctures.  The surface can (as is the case on the CS3) be savage in winter when the wet and the result of cold weather such as icy surfaces can make bike handling particularly difficult.  As per rule no 63 of the Highway Code it is not a legal requirement to use a cycle path so cyclists may choose not to do so, so you may see cyclists opt to ride in the road if it is the safer option to do so.  The design speed on these paths is 12mph as per London Cycle Design Standards and a lot of cyclists will exceed this.  cycle paths are also intermittent and will very rarely, if at all, take a cyclist from their start to end destination and this could be another reason they opt not to use them and instead use a different route.
  • Railway crossings – same principle for cyclists as car users in that if barriers are down they must stop and wait and when riding across maintaining your line is key so wheels do not get caught and wedged on the tracks so you may find a cyclist may move out slightly to ensure they go over at the right angle.  Cyclists may even need to dismount and walk across depending on the angle of the tracks for safety.
  • Cattle grids – these are more common when cycling off road but I have had to cross these on a number of events and if I am honest they terrify me!  Mostly the same principle as railway crossings apply, however, on some the gaps can be way too wide for a road bike and so you may see people choose to get off their bike and walk over to be safe.
  • Cobbles – again super slippery when wet and depending on the gap between the cobbles, cyclists need to ensure they maintain momentum to avoid having an accident or fall.  If a wheel were to jam between the gap the momentum you had up until that point would more than likely see you going over your handlebars.  They may also increase the gear, which can slow the speed slightly but this is to ensure the chain does not slip.
  • Traffic lights – same rules for all road users so if it is red then you stop and wait!! It is key for cyclists to be aware of vehicles on the road with them and vice versa especially when you may be travelling forward and a vehicle next to you may turn left across your path.  Rule no 69 and 71 of the Highway Code cements that all traffic signals and signs are to be obeyed.
  • Puddles – never trust them as a cyclist as you can’t see what is underneath!  Much the same principle as potholes so you may see a cyclist indicate to move out to avoid it in the road and that is the reason why.
  • Riding two abreast – in line with the Highway Code it is suggested to ride two abreast so there is a shorter distance for vehicles to overtake.  This of course should be exercised with common sense and changed to single file especially in more urban areas, narrow roads and around corners.
  • Road tax – that old favourite that cyclists don’t pay road tax, well neither do cars.  It was abolished in the 1930’s and now emissions tax is paid and bikes have no emissions hence no fee required.
  • It’s illegal to ride on the road – I have been told this by drivers a number of times and it is just incorrect.  Rule no 64 of the Highway Code states that cyclists must not cycle on a pavement.  Very often car users would prefer for cyclists to ride on the pavements and cyclists will wonder why other cyclists are riding on the pavements and not the road?!
  • Hand signals – cyclists use a number of hand signals when riding with others.  If you are not a cyclist you may drive behind one thinking what on earth are they doing.  Mostly this is to indicate the direction they are going so other road users are aware, but it could also be to point out holes or obstacles, indicate if there is a car parked and they need to move out in the road, hold their hand up or pushing down gesture to signal stopping or slowing down, or gesture to vehicles behind that it is safe to overtake.
  • Horses – cyclists should slow down if approaching a horse rider on the road and this should be done regardless of what direction you are approaching it.  Cyclists should keep pedalling but slow down and not freewheel as the sound can scare the horse.  They will pass carefully and wide.
  • Parked cars – cyclists may allow ample space between them and a parked car just in case of opening car doors so you may notice cyclists move out further into the road as they pass parked cars and this is the reason why.
  • Riding out of the gutter – it is believed that cyclists should be positioned right next to the gutter/pavement when on the road and most cyclists will position themselves to the left.  However, cyclists are within their right to cycle on the road and the gutter is where debris collects and so it is often the safer choice to position yourself just outside of that so that is why you may see a cyclist choose to ride slightly further out in the road.
  • Wind – the effect of wind on a cyclist can cause your position to shift especially if you are passing a gap in a hedge, for example, and a crosswind appears suddenly.  As a cyclist I can honestly say my last wish is to be a hazard to other road users and involuntary movement is often scary but out of our control.
  • Being visible – as a cyclist I prefer to be safe and seen and will always use adequate lights and reflective clothing when necessary.  I do not want to assume another road user has seen me and this assists with that.  Rule no 60 of the Highway Code states cyclist must have a white front light and red rear light lit.
  • Bus lanes – if road signs indicate it is permitted then cyclists may use the bus lane.  On my commute there is a busy road in London that I always opt to use the bike lane as it is safer and I ensure I pass any parked buses with care in case a pedestrian is walking in front.

As a cyclist I can honestly say I do not wish to hold up other road users at all.  There is nothing worse than being on your bike knowing you are holding people up, especially if there is no obvious passing place or safe place to stop.

There are a number of resources available online on this matter as follows:

  • Royal Society for Prevention of Accidents – Sharing the Road Together
  • Highway Code – Code for Cyclists
  • AA – How Drivers Can Share The Road With Cyclists
  • A number of resources available for cycling guidance from British Cycling

Happy cycling, and driving!  Let’s all share the road in a positive way.

Category: Cycling

Safety Whilst Cycling

I often bang on about being safe and seen on the bike as I believe it is important, but what else can you do to help with safety on the bike?  Thinking of accidents, injuries and even so far as worst case scenarios it is important to forward think of what can help in these sorts of situations both for riding solo and as part of a group to enable others to help you should the need arise.

A good friend of mine gave me an ID band as a gift one year – I have the pink because well, pink, and she has the yellow and the idea behind that is because we are both part of the same cycling club and the colours are yellow and pink (see what we did there).  The bands are from a company called OneLife iD and they offer many items that hold personal information including medical conditions, emergency contacts and more.

A great image on the website from OneLife iD is their vital signs information sheet, which shows some of the ways you can benefit from their products with a little more information, below:

I have personally ended up post accident on the bike in the back of an ambulance and luckily I was riding with two very good friends, with my husband and one of their partners not too far from us in a car.  Obviously I was not alone and they knew my husbands number to phone him as my emergency contact but if I were riding alone and without ID it could be slightly different.  In this instance (you cannot make this up) the road was closed as I was out on the floor and the traffic was stopped in both directions.  On one side of the stopped traffic there was a driver who was an off duty fireman and on the other side an off duty paramedic so I could not have been in better hands all round but that is obviously not always the case.

I had a friend who found someone at the side of the road and had the unfortunate experience of having to phone his wife to explain to her what was happening.

The items I have from OneLife iD include the following:

  • Sports ID band – £18.99 – this is one of the newer products and strap is similar to a silicone apple watch style strap and totally adjustable.  I have it in red as pink was not an option (ha ha).
  • Sticker pack – £9.99 – this is a packet of 7 stickers that you can use as you wish whether you put them on your bike, helmet, phone or other kit or a mix of all as you have enough to cover all options really.  Very discreet and waterproof so if you were putting on the outside of something it will withstand the weather.
  • Mini tag – £6.99 – super small and can attach to a key ring or be put inside a wallet.
  • Lumo ID – £22.99 – obviously I had to go for the pink option but this is one style of the bands they offer.  Super comfortable and I don’t event realise I have it on.  Comes with a strap that is easy to cut down so the fit is right just for you.
  • Medical card – £5.49 – same size as a credit card so could go in a bag, wallet or the back of your phone case and includes all emergency info needed including medical details.  There is also the option for the same sort of card but for allergies specifically.  This information is crucial for a medical responder to ensure you receive the appropriate care/treatment that you need.
  • Adventure ID wristband – £16.99 – this was my first OneLifeiD band that I mentioned earlier was a gift and I have had it now for over 3 years and it is still going strong!

Carrying emergency ID is such a small, easy and inexpensive thing to do and OneLife iD offer so many options including, but not limited to stickers, tags and bands.  When you purchase an item you set up an ID and this acts as your account and includes all relevant information that would be needed in case of an emergency and this can be set as read only and emergency details that can be accessed via your personal profile and pin given on your ID.  You can read more and view a demo page here.  You can also see in further detail the concept behind OneLife iD here.

You can really add as much or as little as you wish to your profile depending on your needs and there are tips on the website giving examples of information you may wish to include.  I, for example, have no allergies or medical conditions but if I did I could include documents and detail that could be accessed should it need to be, including insurance documents, social media details if you want to add, photos and more.  You can also update the online profile whenever needed and as the information is stored on your profile there is no need to purchase more items, unless of course you want to!

When you receive the items there is an easy to follow activation link you receive via email to activate the products and you are good to go.  I was also impressed when I tested the QR codes and I received an email to tell me that my profile was accessed using the secure pin with date, time and approximate location.  The purpose of this is to identify if it was unauthorised access should you be concerned your pin has been compromised.  For me this was ok as it was me testing it but it does give instruction to contact OneLife iD to de-activate the pin if it was a security breach, which is good to know.

The cons?  There are not many but a couple of things I would note:

  • For the Sports ID band and Lumo ID band the pin needed to access information is on the underside of the metal tag, which means if someone was going to use it to get your details to assist they would need to know to take it off and turn it the other way round.  In the case of a real emergency would this be obvious?
  • For the items with details available via a QR code you are reliant on good mobile signal, which may not always be the case wherever you are.

I use for cycling but actually you can use for any sport and even outside of sport can use as an ID.  This includes options for a social ID to share information with others both from a personal and business perspective, and IDs for other things such as luggage, kit, equipment and even the dog!

If you are part of a sports club these are great to have as something members can use whilst participating in whatever sporting discipline.  They can be customised and start from as little as £4.99.

I was gifted these items but as mentioned I had a band beforehand and all opinions are my own.

Category: Cycling

My Top 5 Bib Shorts For Cycling

Since lockdown started more people have been cycling and it has been great to see – my local bike shop was telling my husband and I they have had so many people in buying bikes during this time and if you want a turbo trainer well they are a bit like gold dust right now.  What I have also noticed in online groups and on social media are questions from people asking about comfort (you know in the downstairs area) and it sparks the debate on what is the best cycling short, chamois cream, saddle etc.  I wrote a blog post about being sore down there – its a thing and its good to question it!  You can read more about that here.

For me I would say things that can help with ensuring you have a comfortable ride fall into a few categories as follows:

  • saddle fit – a little bug bear of mine and almost always overlooked.  In a lot of groups I am on in facebook, particularly for women’s cycling, there are several questions on a weekly basis asking for recommendations for saddles and it’s one of those things that I will admit I roll my eyes at as it is personal and what works for one may not necessarily work for another.  A lot of people are simply unaware that a saddle fit is something that is done along with a lot of bike shops offering test saddles to try.  This is hugely valuable to ensure you get the right size as sit bones are measured so will be more specific to you and avoids a lot of cost and discomfort trying out various saddles on the market.  I ride with a Specialized Mimic saddle and was measured at the Chelmsford Concept store before purchasing.
  • cycling shorts – I always wear padded bib shorts when cycling (I personally prefer the bib style) and these have a chamois pad in them, which is intended to reduce pressure from points of contact with the saddle, prevent chafing as you pedal whilst riding and help with vibrations you may feel on the road when riding.  If you are unsure about what chamois even is then it is basically the padded part in the crotch of the shorts.  Also the fit of the shorts is important here – they should be tight but not so much so that they are restrictive, too big and you could get chaffing.
  • chamois cream – perhaps a little controversial here but I use chamois cream when riding outside or on the turbo but I do know many who do not and are fine.  Chamois cream is designed to eliminate bacteria build up and friction between your skin and clothing (yes its true cycling shorts are not designed to be worn with underwear).  However, I do believe from my experience once you start with chamois cream it is hard to go back to not using it!  I have recently move to using Premax for women.
  • bike fit – important not just for cycling outside but also for indoor training to ensure your bike set up is correct, can help avoid injury and from personal experience the smallest of changes can make the biggest of differences!  You can read more about the importance of a bike fit here.

So in this post I am talking about my favourite 5 cycling bib shorts (in no particular order):

  1. BioRacer – I am a huge fan of all kit from this brand and have numerous items from off the shelf, club kit and my own custom kit, all of which are different styles and designs from the standard style bibs to those with drop seat style (zip up the back for easy access) which I did a full review on and you can read here.  I also have a mix of some older shorts with elasticated finish to the legs and some that are laser cut.  I have said before but I have items from BioRacer that I am still wearing that I have had for 4/5 years and they are still going strong showing the quality.  BioRacer have developed their own chamois pad and on their website you can read more about that.

  1. Foher – I am an ambassador for Foher but continue to be impressed by the kit and know from experience I can put them on and go straight for a longer ride (my last pair were worn first time on the turbo to complete the Alpe du Zwift climb) with no issues.  Super comfortable, great designs (for me the brighter the better), washes like new and because they are an Australian brand I am yet to find many people in the UK with the same kit and like to be a little different!

  1. Stomp The Pedal – I actually wrote a full kit review for these shorts that you can read here, but after speaking to the founder and all round lovely who created the STP brand, Tarsh, I needed to try these shorts and I am pleased I did!  As I mention in the review Tarsh does a LOT of turbo training and at a bike show talk from Casquette about saddle sore we got into talks about her bibs.  Now one thing I really want to stress about Tarsh (and those that know her and her brand will know this and wholeheartedly agree) is that she is her brand.  I don’t mean that in a corny way but that whatever product she puts to market will only be done so following her approval and testing from valued clients who take part in the sporting discipline the item is intended for and that is invaluable in my opinion and I have huge respect for her.

  1. Specialized SL Pro – one of my closest friends is an ambassador for this brand and I will admit that despite riding a Specialized bike I had very little of their kit until recently purchasing new road and MTB shoes but I now have two jerseys and bib shorts and they are great!  I really like the rear magnetic closure on the bib straps so I don’t need to take them off completely if I need to stop for a convenience break – when I first used this feature I was unsure how easy I would be able to get the fastening done back up again but it was super easy.

  1. DHB – these are the cheapest bib shorts I own but prove that price doesn’t always mean they are better/worse as these are great and I have had for 2 seasons now.   I have two pairs and they do have the elasticated finish on the legs, where I do prefer the laser cut wide leg grip style but otherwise they are a great buy for the price.

What I would say (and apologies for repeating myself as I feel I say this a lot but I believe it to be true) is that like most things when it comes to kit is that you need to find what works for you.  I am noting my favourites but individual preference goes a long way.  I have friends who do hours on the turbo and take part in triathlon and prefer a thinner tri style chamois pad like you would find in a tri suit and I have others who prefer the more padding the better.

What I would note though is that don’t believe every brand to have a different chamois pad – this is not true and in fact on this link you can see that many brands in fact use the chamois pad developed by Elastic Interface (EIT pads), including some of those I have mentioned above.

Some of the items mentioned in this post were gifted, but all opinions are my own.

Category: Cycling

Pre Ride Bike Checks

Ready to head out for a bike ride?  What do you check before you head off?

I guess the answer has elements that largely depend on what sort of ride you are doing, for example a short local recovery ride would see different items in saddle bags/pockets than an endurance event but some aspects remain the same.

Here is my pre ride checklist:

  • M Check – if you have not heard of this then you can find more info over at We Are Cycling UK here but it is a quick check you should complete on your bike before riding to ensure everything is in good working order.  It is called the M check as the order in which you check makes the shape of the letter M on the bike.
  • Tyres – I always check that there is no flint from previous rides, tread is not worn, and inflate to the required PSI (pressure per square inch).  Depending on the type of  bike you are riding, tyre, weather/conditions and personal preference the PSI differs.  The PSI will affect the grip on the road as you ride and the rolling resistance.  If your tyre does not have enough PSI you will find the tyre doesn’t roll smoothly – the aim is obviously for good grip and resistance.  On my road bike I use Continental GP 5000 tyres and run my PSI at 110/120 in good weather and less if it is wet though as I say this is personal preference and you should find a range provided for advice when you purchase your tyre.  Some people calculate depending on weight but I have never done that.
  • Chain – I opt to use a chain from NRG, which I can highly recommend, and these are prepared and waxed so I have no need to add chain lube or check it before I ride. When I am due for further treatment NRG check for wear before they re-wax all chains and will feedback if it is worn out and advise next steps.
  • Saddle Bag – I did a whole post on what I have in my saddle bag that you can read here but I always check pre ride that everything is in there.  If you were unfortunate enough to experience the dreaded ‘p’ word on a previous ride you may need to replace an inner tube and gas canister.
  • Nutrition – both food and drink and will differ depending on length of ride etc
  • Tech – always make sure my Di2 is charged (I have found this the hard way when out on a ride and stuck in the wrong gear because I didn’t check!) and Wahoo Elemnt Bolt is charged and ready – I mean if it is not on Strava did it even happen?
  • Helmet – not a legal requirement but I personally wouldn’t ride without one (more on that here) and so having that ready and fitted properly.

For endurance I would also add:

  • Top tube bag – easy access for nutrition whilst riding.  I use the Topeak Tri bag with cover, and I like having the cover in case weather is bad but also not having to faff about with zips etc whilst riding.
  • Spares – I would take more inner tubes, gas canisters, spare layers of clothing and lights also either in a bigger saddle bag or in jersey/jacket pockets.
  • Nutrition – stands to reason you will want more for longer rides although if part of an event they may have stops with food
  • Tech – my Wahoo Elemnt Bolt is set to beep every 20 minutes to remind me to drink and eat (stop the bonk!).

For commuting I would also add:

  • Tyres – Further to the above, for my commute I use a gravel bike and on that I use Schwalbe G1 tyres and they run at a much lower PSI of 70.
  • Lights – I commute early and it can be pretty dark so always one to bang on about being safe and seen, its safety after all!  I make sure I have a front and back light, helmet light, arm band with light and fibre flare light as well.  I also take cables so I can charge them back up at work ready for my return journey.
  • Hi vis – again its all about being safe and seen so I have a bag cover and reflective clothing.  ProViz have a huge range or items that are great.

Happy riding!

Category: Cycling

How I Chose My Custom Bike Kit

For a while now I have looked at getting some custom bike kit for when I am cycling but then never really pushed it forward until this year.

My cycling club Romford CC have used BioRacer for over 5 years now and the kit is such good quality with excellent customer service that they were definitely the brand that came to mind.  I deal with club kit for Romford CC and so it was an easy process to get in touch and discuss the idea further with them.

img_1918

I’d like to think I was an easy customer but they would have to be the judge on that.  I knew roughly that I wanted something simple, nothing with an over complicated design or too busy if that makes sense?  Of course I wanted my blog logo and colour was no question that I was looking at there being a lot of pink – it is not for everyone but it most definitely is for me!

After speaking with the team I sent over my logo and then pretty much left them with my vague brief for the design knowing I was in capable hands.  I was introduced by email to the designer who was dealing with my kit and within a couple of weeks I was sent some ideas.

You are sent a link to the design portal with a password specific to me to see the designs, which are 3D so you can move the image of each piece of kit to see what it looks like from a number of angles.

I think there were only 3 or 4 iterations of the kit including the addition of the strapline for my blog ‘be fearlessly unapologetically you’ being added to the back centre pocket of the jersey and gillet.  One design looked a little similar to something else I had seen and they were quick on hand to change.

img_1917

What I really like about the team is that they are so easy to talk to and bounce ideas off of, always happy to help.  They also keep you updated from the start, when the order is placed and when it has been received and sent out.

What I was also impressed with is that the quality was exactly the same as my club kit and kit sent to me that can be ordered off the website.  Perhaps this is an odd thing to note but I have experienced first hand before where kit ordered from a brand has a different quality with the custom kit compared to off the shelf range, with custom kit being a lesser quality.

img_1927

I should note that as I stated I have used BioRacer for a number of years with my cycling club for kit and have also worked with them to review products but all opinions are my own and I chose to work with them on my kit as I know how good it is.  So I can highly recommend them if you are looking for either off the shelf kit or custom range.  I am incredibly happy with the finished product!

Category: Cycling

Cycling Terminology

Have you started cycling and people are asking you things you have no idea what they mean or get confused with the terminology?  I know that was my experience when I first started and even four years on there are some things I am unsure of so you are not alone!

It is easy when you know this stuff not to think about it too much but there is so much to learn and understand, and it does come with time!

So here is some terminology that you may find useful:

  • Cadence – the number of revolutions (complete turns) of the crank per minute and the rate which you are turning the pedals as you ride (revolutions per minute, RPM).
  • Di2 – Shimano electronic gear system.
  • Crank – the arm that your pedals connect to.
  • Aero – serious cyclists will do anything to be more aero, meaning be more aerodynamic.  This can include many elements not just the bike but also kit and anything to help with less wind resistance for maximum speed.
  • Drops – most road bikes have handlebars with a curved part at the widest point, which is referred to as the drops – used by cyclists mostly for sprinting or on flat roads.
  • Bottle cages – the attachments to the frame to hold your water bottles.
  • Stem – the part of the bike that connects the handlebars to the front fork steerer tube.
  • Lid – another name for your helmet.
  • Chaingang – cyclists riding in a group that rotate turns on the front to share the effort load.
  • Peloton – cyclists riding in a large group.
  • Bibs – shorts or tights worn as cycling kit that have straps that go over your shoulders (they are more comfortable even if you do look like a wrestler).
  • Chamois – the pad in bib shorts/cycling shorts/bib tights.
  • Chamois cream – cream applied to under areas (most polite way of describing the area) to avoid chaffing when cycling.
  • Power – energy you are putting out when cycling, measured in watts.
  • Presta – the valve you can see on your wheel that is used to inflate/deflate the inner tube.
  • Shifters – the gear levers on your handlebars used to change gear.
  • Cleats – the attachment to the cycling shoe that clips in to your pedal.
  • Bike fit – conducted by a specialist or qualified bike shop to ensure the set up of your bike is correct for both comfort and performance.
  • Sit bones – the area that carries most of your weight when sitting, I would recommend having a fit for a saddle where they measure your sit bones to recommend you the best saddle.
  • Drafting – when you ride directly behind another rider and by doing so you use less energy.
  • Tempo – not quite full maximum effort, but roughly 76% to 90%.
  • Bonk – nutrition is key when cycling (as in many other sports) and if you bonk it is basically a sudden loss of energy if you have not fuelled correctly.
  • Chainring – some bikes have a triple chain set up but most are double which has the big ring and little ring.  They are the metal discs with ‘teeth’ that the chain sits on, connected to the crank.
  • Carbon – carbon fibre material used for some bikes, benefits claimed to be a more comfortable ride and they are generally lighter in weight.
  • Clincher – reference for tyres that are used that clinch to the rim of the wheel as the inner tube is inflated.
  • Cassette – rear gears, cogs found attached to the back wheel of the bike.
  • Derailleur – front derailleur guides the chain into either the big or little ring in the front. The rear derailleur guides the chain on to your selected gear while keeping tension in the chain.
  • Granny gear – the little ring often used for climbing.
  • Strava – an app to record your rides – if it’s not on Strava did it even happen?
  • Audax – latin word for bold and in cycling terms refers to a long distance ride that is completed within a set time limit having a brevit card stamped to prove that you have been to necessary check points.
  • Sportive – an organised cycling event.

And lets not forget the acronyms:

  • SPD – Shimano Pedalling Dynamics – one of the many clip in pedal/cleats, more commonly used for mountain biking but often also used for road cycling too.
  • SPD-SL – as above, more commonly found on road bikes.
  • MTB – mountain bike.
  • RPM – revolutions per minute or how many full rotations of the pedal per minute when you are cycling.
  • FTP – functional threshold power – maximum power you can sustain for a given period.
  • AP – average power – what it says really – the average power put out when cycling over a set time/distance.
  • CRIT – criterium race – which is general a short distance, high speed, including many corners type of cycle race.
  • TT – time trial – a ride that covers a set distance and is timed.  These can be done solo or 2-up, which is where you can work with another person. Also known as the race of truth as it is you and the bike!
  • MAMIL – middle aged man in lycra (a term often used by those who are not as fond of cyclists).

You’re welcome – now chat like a cycling pro!

  • « Previous Page
  • 1
  • …
  • 3
  • 4
  • 5
  • 6
  • 7
  • …
  • 13
  • Next Page »

Welcome to Fat Girl Fit!

Welcome to Fat Girl Fit!

Be Fearlessly Unapologetically You!

About me

  • Facebook
  • Instagram
  • Pinterest
  • TikTok
  • Twitter

Level 2 Qualified Coach & Commissaire

Foher Class of 2025 Ambassador

100 Women In Cycling 2021

Recent Posts

Book Review of ‘Wintering’ Following a (long) Swedish Winter

My (Less Than) Rosy Thoughts On Rosacea

Learning To Speak Swedish With SFI

Search

Copyright © 2025 Fat Girl Fit · Theme by Blog Pixie